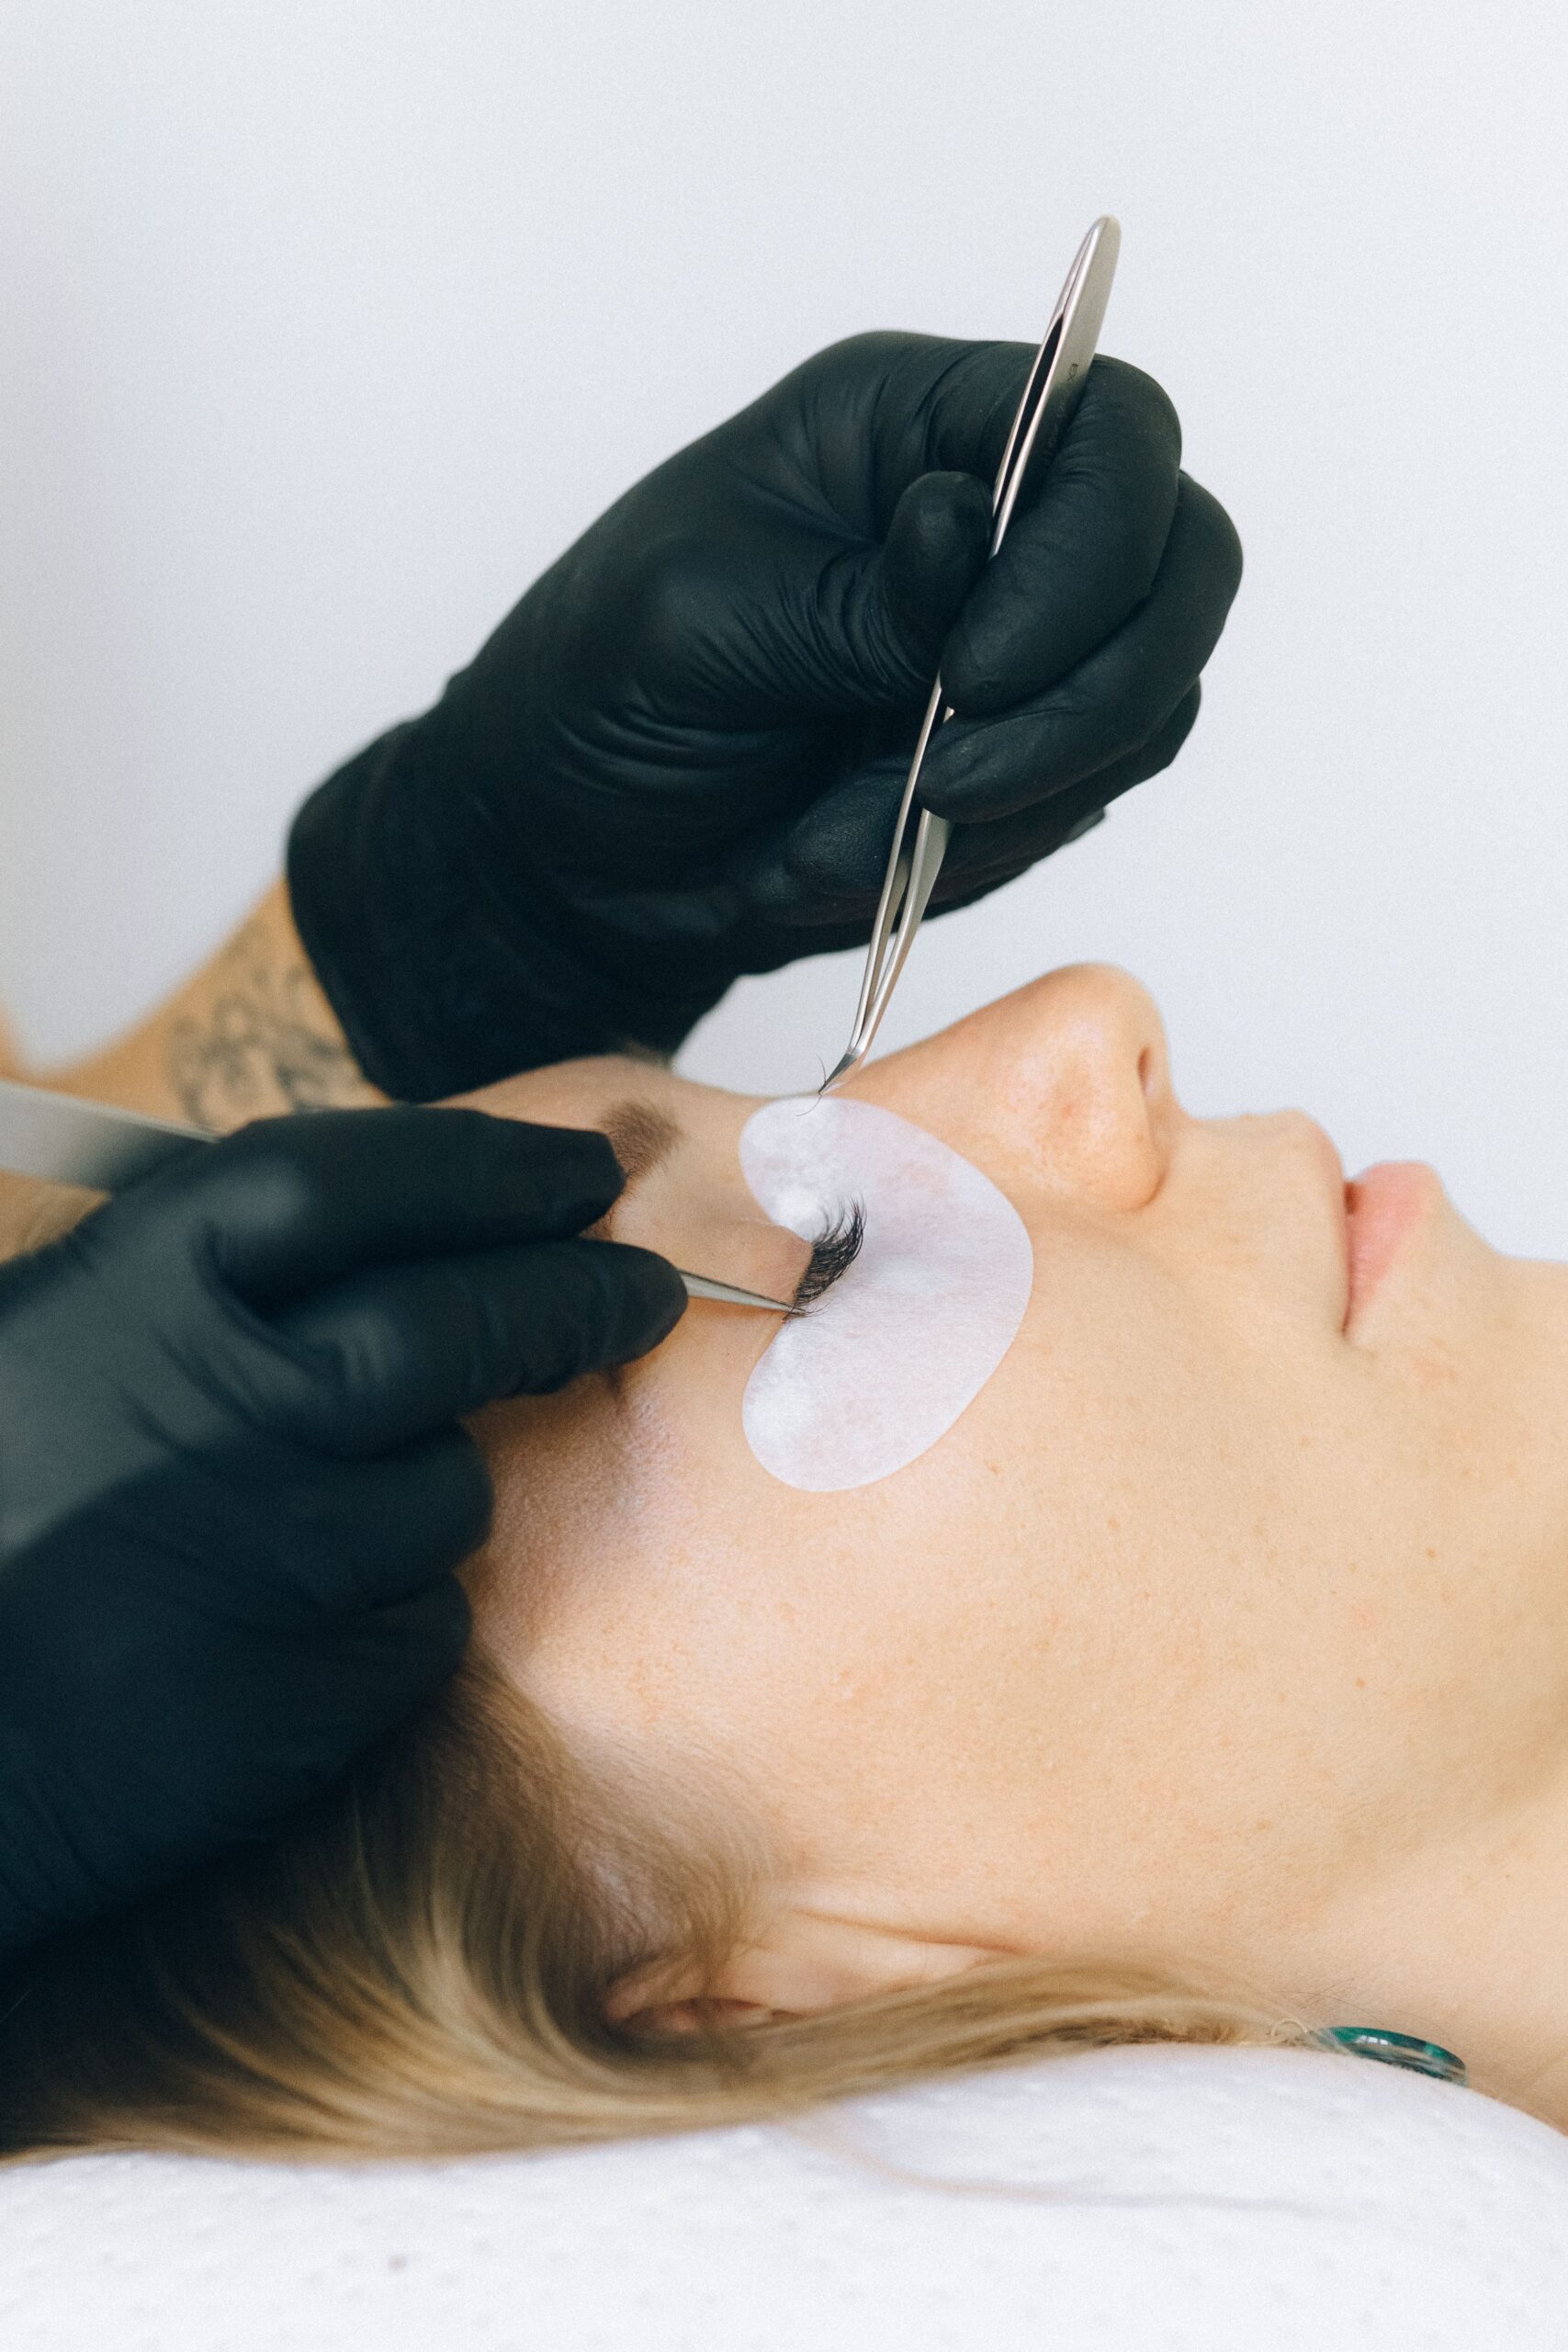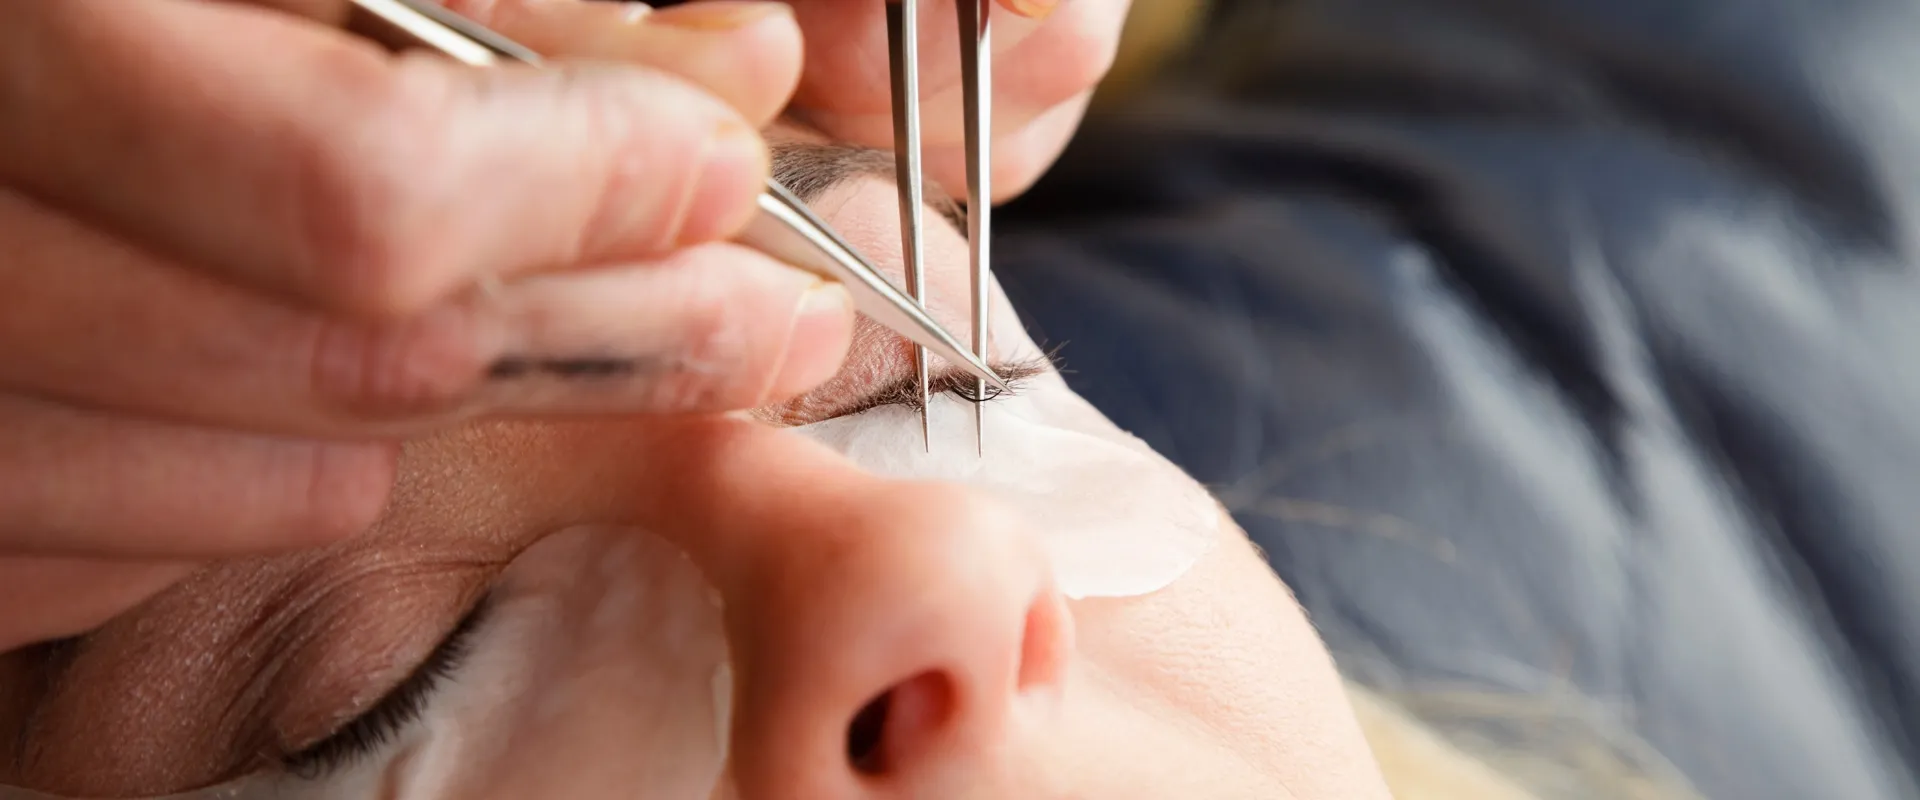


lash primer mistakes is the first checkpoint buyers should lock before they approve a supplier, budget, or production slot. “Why is my lash glue not sticking after primer?” The artist asked, frustrated. “I followed the steps.” The supplier checked the protocol and saw it immediately — a soaked cotton swab, heavy with primer, swiped across the natural lashes. That excess liquid created a slippery barrier instead of a clean surface for adhesion. This single lash primer mistake kills retention on more sets than most artists realize.
Professional primers use a volatile alcohol base that evaporates in seconds. Soaking the applicator just leaves residue behind, which interferes with how cyanoacrylate cures. The fix is simple: one dry pass with a barely-damp microbrush. For context, a well-formulated primer from a dedicated manufacturer will prep the pH of the natural lash without over-hydrating it — but only if you apply it correctly.

Mistake #1: Applying Too Much Primer
Excess primer creates a slick film that blocks glue penetration — less is always more.
The most common lash prep mistake isn’t skipping primer — it’s using too much. A soaked cotton swab or dripping microbrush floods the natural lash with liquid. Instead of prepping the surface for adhesion, that excess moisture creates a slippery barrier between the lash and the glue.
Professional primers, like those from Lash Glues Factory, use a volatile alcohol base designed to evaporate in seconds. When you apply too much, the alcohol can’t flash off cleanly. What’s left is a residue layer that prevents cyanoacrylate from bonding directly to the keratin cuticle.
Why Over-Priming Kills Retention
A hydrated lash surface changes how the adhesive cures. Cyanoacrylate needs a dry, slightly alkaline environment to polymerize properly. Excess primer over-hydrates the natural lash, slowing cure time and leaving microscopic gaps in the bond line. The result: extensions that shed within 7–10 days instead of lasting through a full fill cycle.

The Correct Amount: One Pass with a Microbrush
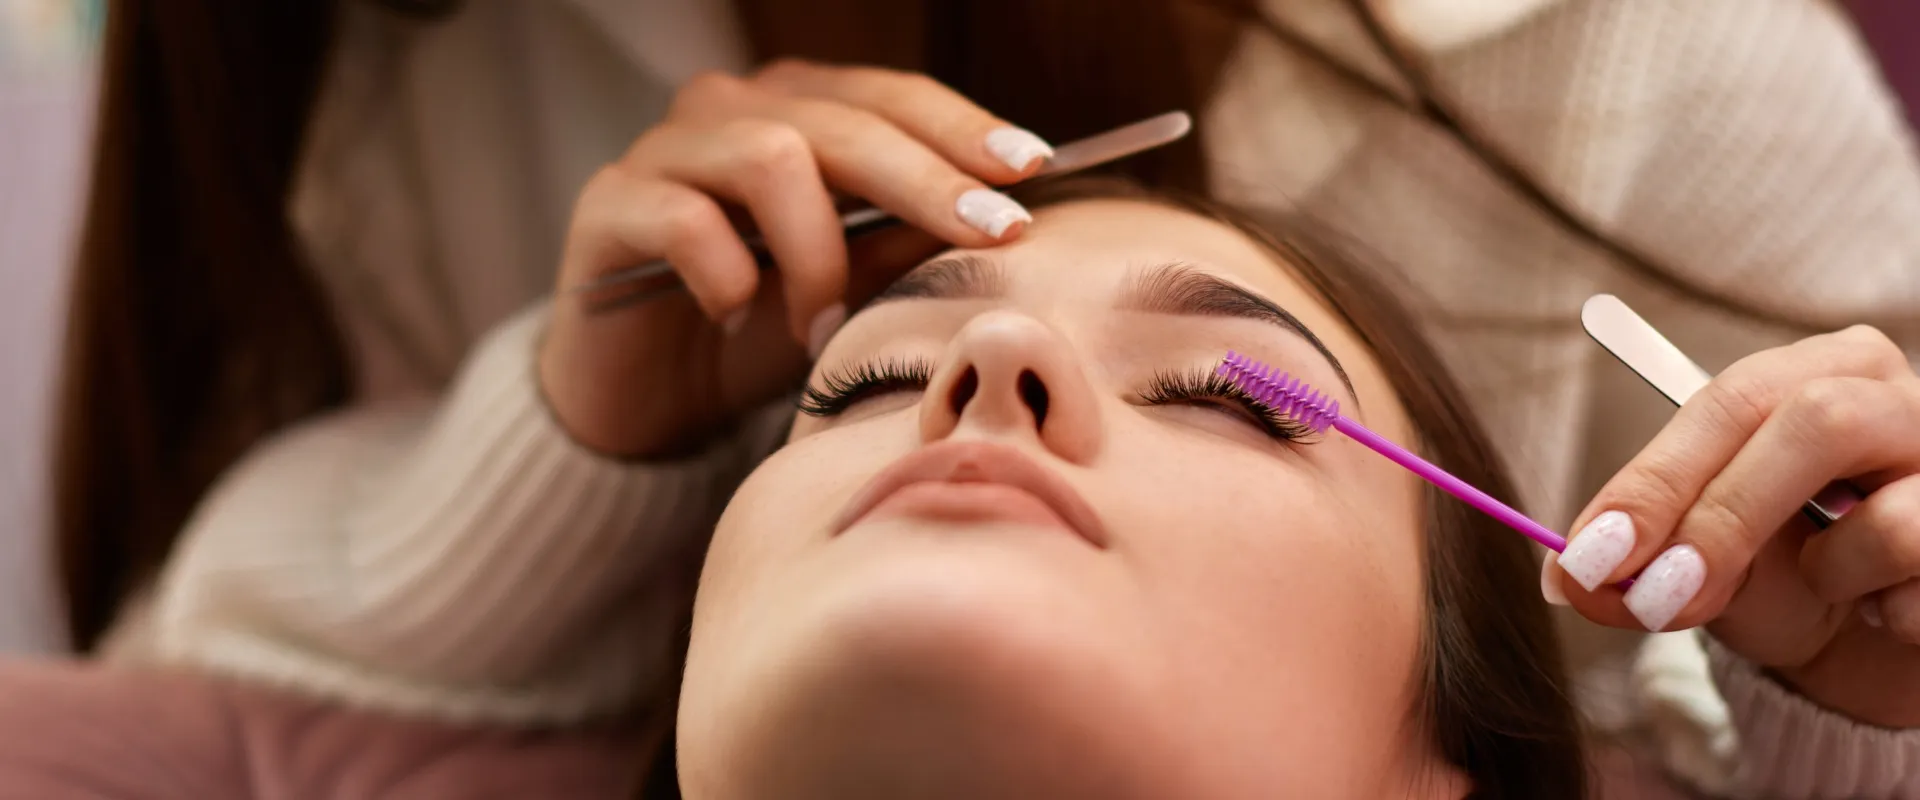
Dip the microbrush into the primer once, then wipe one side against the bottle rim to remove excess liquid. Apply only to the underside of each natural lash — one smooth pass per lash, not back-and-forth scrubbing. You want a whisper-thin coat that disappears within 15 seconds.
“Less is more” isn’t just advice here — it’s chemistry. If you see visible droplets or pooling at the lash base after application, you’ve already used too much. Blot with a dry microbrush before proceeding to glue.
Mistake #2: Using Primer and Bonder in the Wrong Order
Using bonder before primer guarantees a weak bond that fails within days.
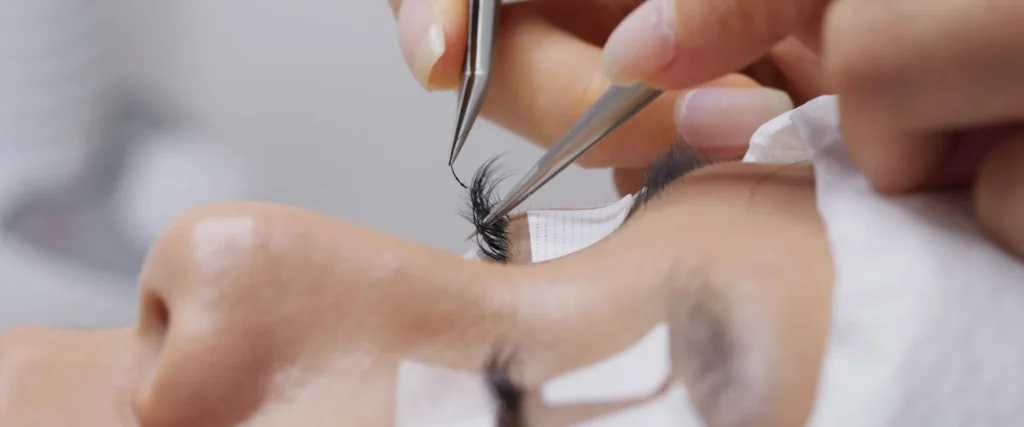
Primer neutralizes the pH of the natural lash and removes oils. Bonder seals the adhesive after placement. Swap the order, and the glue thickens before it can penetrate the cuticle. The result is a bond that lifts within days.
Why Bonding Fails When You Reverse the Order
Cyanoacrylate adhesives cure best at a specific pH range. When bonder is applied first, the pH rises too high, causing the glue to thicken instantly. It cannot flow into the cuticle scales, so the extension sits on top of the lash instead of locking in. Professional primers, such as those from Lash Glues Factory, use a volatile alcohol base that evaporates completely, leaving a clean, pH-balanced surface.
The Correct Sequence
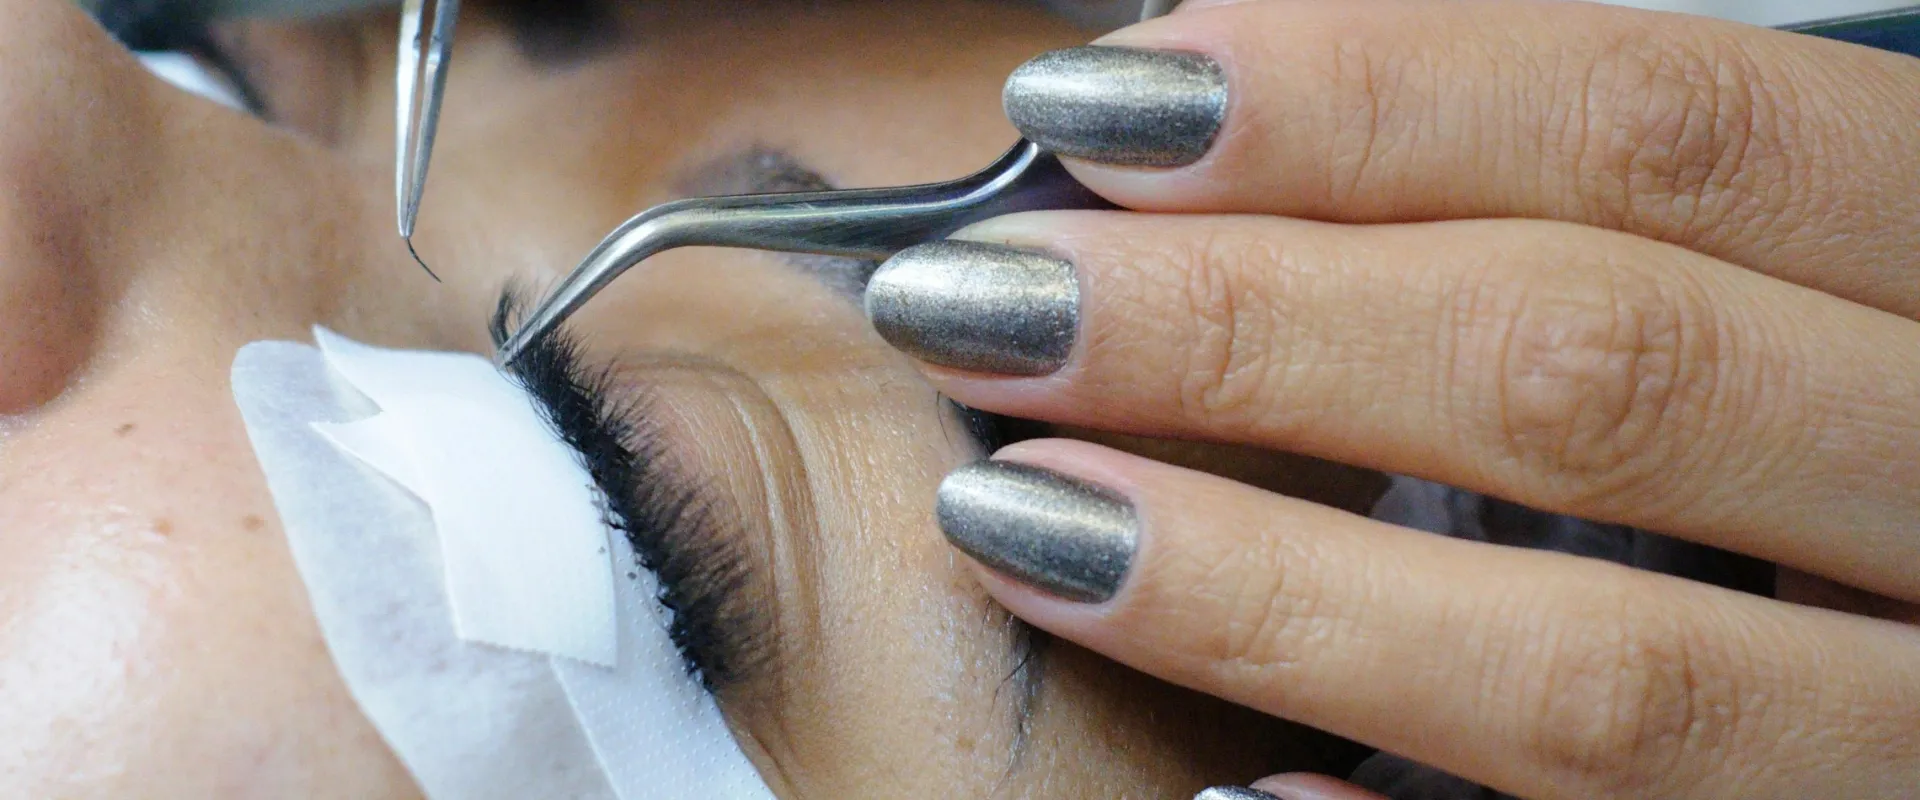
Cleanse the lashes thoroughly. Apply a thin layer of primer with a microbrush and allow 30 seconds to dry. Then apply adhesive and place the extension. After the glue has cured, seal with bonder. Never apply primer after glue — it will break down the adhesive and cause early failure.
Mistake #3: Not Allowing Full Drying Time Between Steps
Moisture is the enemy of cyanoacrylate cure.
How Residual Moisture Affects Cyanoacrylate Cure
Cyanoacrylate adhesive requires a precise amount of moisture to initiate the curing reaction. Too little, and the glue won’t set. Too much, and the polymer chains form unevenly, creating a brittle bond that fails within days.
When you apply primer or bonder and don’t let them dry completely, the residual moisture on the natural lash interferes with the glue’s curing chemistry. The result is a cloudy, weak bond that peels off prematurely.

Professional primers like those from Lash Glues Factory use a volatile alcohol base that evaporates within seconds. Excess primer leaves an invisible film of moisture that sabotages retention. The fix is simple: wait for the product to fully dry before applying glue.
Drying Time Guidelines: 30 Seconds for Primer, 60 Seconds for Bonder
The standard drying time for a lash primer is 30 seconds. For bonder, it’s 60 seconds. These are not arbitrary numbers. They are based on the evaporation rate of the solvent base used in each product.
Lash Glues Factory’s primer is formulated to be fully dry after 30 seconds of open air exposure, leaving a clean, pH-balanced surface. The bonder requires 60 seconds to ensure the sealant layer is set and won’t dilute the adhesive.
A common mistake is rushing through the prep sequence. Artists apply primer, then immediately grab the glue. That extra moisture creates a weak bond. Following the 30/60 rule eliminates this failure mode entirely.
How a Unified Lash Care Kit Prevents These Errors
A unified kit eliminates chemical conflicts and guesswork from your prep routine.
When you pull primer from one brand, glue from another, and bonder from a third, you’re gambling on chemical compatibility. Each manufacturer formulates around a specific pH range and solvent base. Mixing them introduces variables that directly affect retention.
Consistent formulation ensures proper chemical interaction
Primers from Lash Glues Factory use a volatile alcohol base that evaporates cleanly within 30 seconds. That evaporation window is calibrated to match the cure kinetics of the factory’s own cyanoacrylate adhesives. Pair that same primer with a bonder from an unknown source, and you risk raising the pH too early — which thickens the glue before it penetrates the cuticle.
A unified kit removes this cross-brand chemistry problem entirely. The primer preps at the right pH. The glue wicks into the lash at the intended viscosity. The bonder seals without over-accelerating the cure. Every step is designed to work with every other step.
Step-by-step labeling on Lash Glues Factory’s kit reduces learning curve
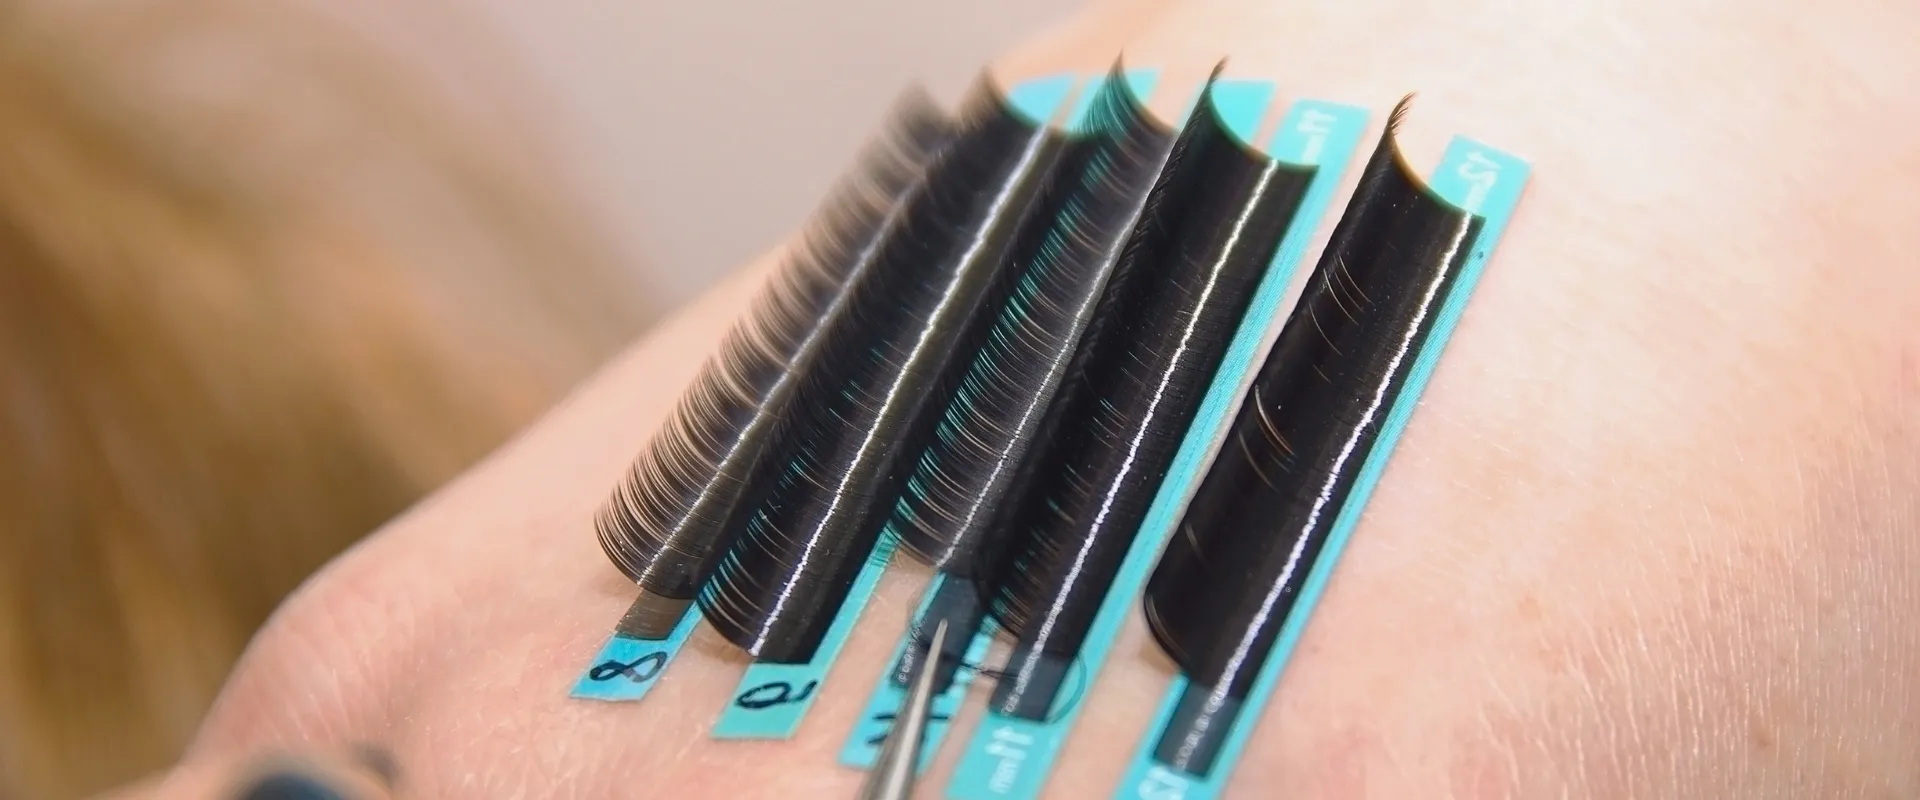
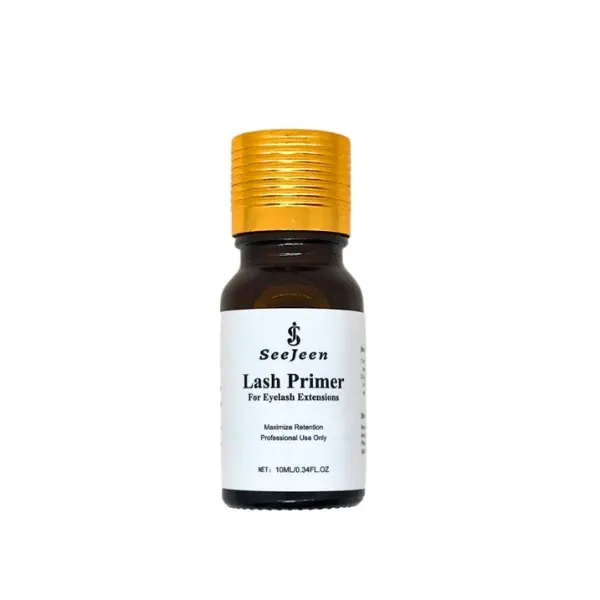
New staff or junior artists often freeze between steps — especially when primer and bonder look identical in similar bottles. Lash Glues Factory’s care kit labels each bottle with its step number and a brief action instruction: Step 1 Cleanse, Step 2 Prime, Step 3 Glue, Step 4 Bonder.
“Can I use bonder before primer lashes?” That question disappears when the label physically prevents it. The sequence is baked into the packaging design, not left to memory or training notes that get lost after onboarding week.
“Why is my lash glue not sticking after primer?” — If you’ve asked this before, check whether your primer was fully dry before glue application. A unified kit standardizes drying times because all products share a consistent evaporation profile.
Conclusion
These three errors — over-application, reversed sequence, and rushed drying — account for most retention complaints in the first two weeks after a fill. The chemistry is straightforward: primer preps the pH surface so cyanoacrylate can penetrate the cuticle. Bonder seals that bond by accelerating cure. Disrupting that order or flooding the lash with excess liquid guarantees a weak interface.
- Use one microbrush pass per eye for primer application.
- Always apply primer before glue, bonder after glue.
- Allow at least 30 seconds drying time for primer and 60 seconds for bonder.
- A unified kit ensures chemical compatibility between each step.
If you are training new artists or standardizing your salon’s prep protocol, review how your current primer and bonder formulations interact under controlled timing. A mismatched product pair from different suppliers can introduce pH inconsistencies that no amount of technique will fix. Browse Lash Glues Factory’s unified lash care kit to see how step-labeled packaging and matched chemistry eliminate these variables from your daily routine.
Frequently Asked Questions
What happens if you use too much primer?
Excess primer creates a slippery film that blocks glue penetration, causing poor retention. Use a single pass with a microbrush to avoid buildup. Use a single pass, not a soaked swab.
What is the correct order for primer and bonder?
The correct order is cleanse, primer, glue, then bonder. Using bonder before primer destroys adhesion because primer preps pH and bonder seals the bond. Never swap the order or apply primer after glue.
How long should you dry primer and bonder?
Primer needs about 30 seconds to dry, and bonder needs about 60 seconds. Residual moisture interferes with cyanoacrylate cure, so wait until fully dry. Always check for complete dryness before proceeding.