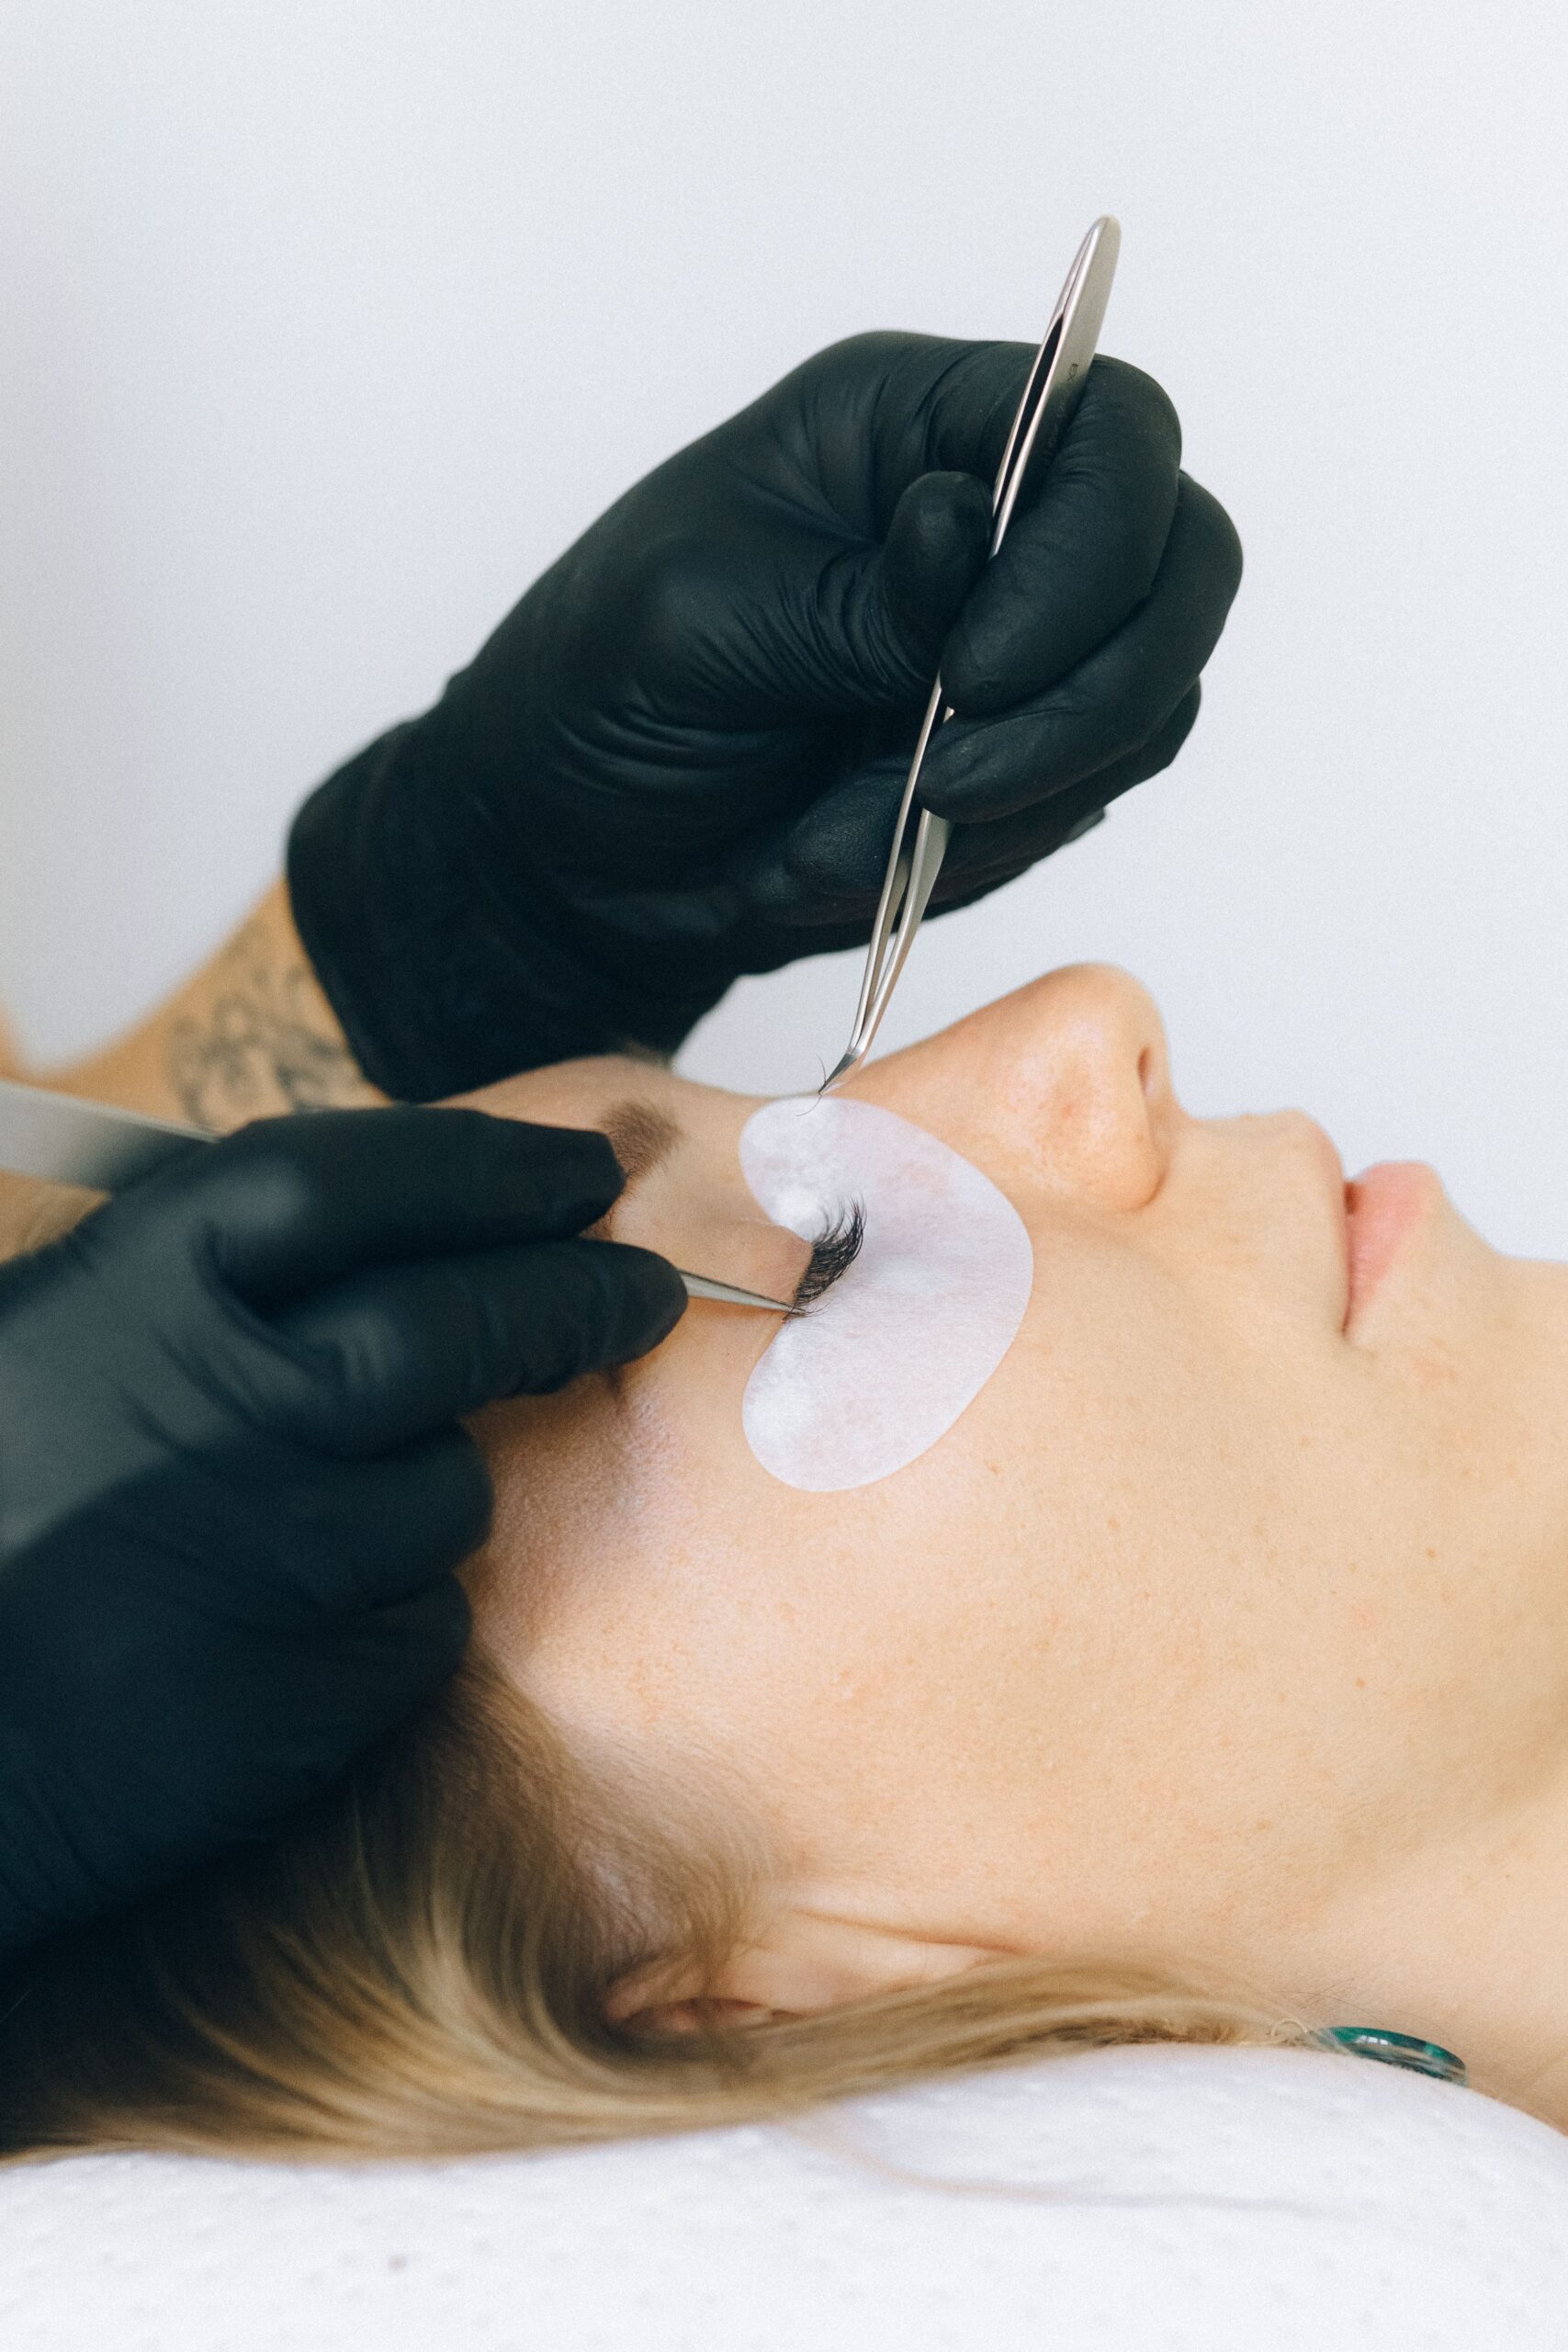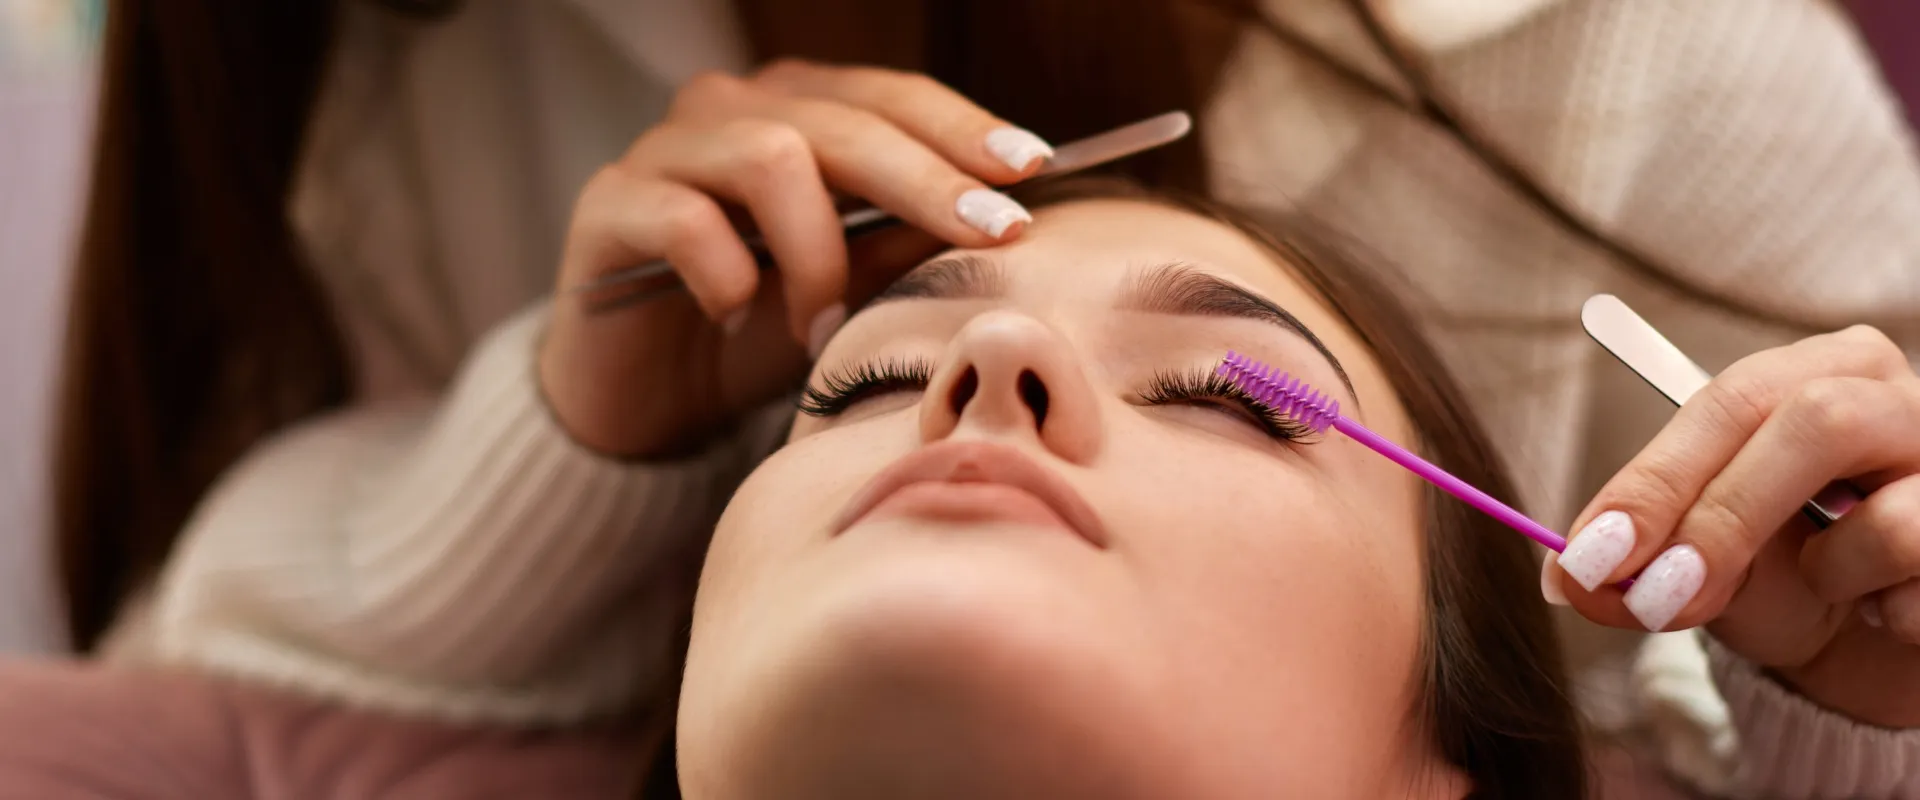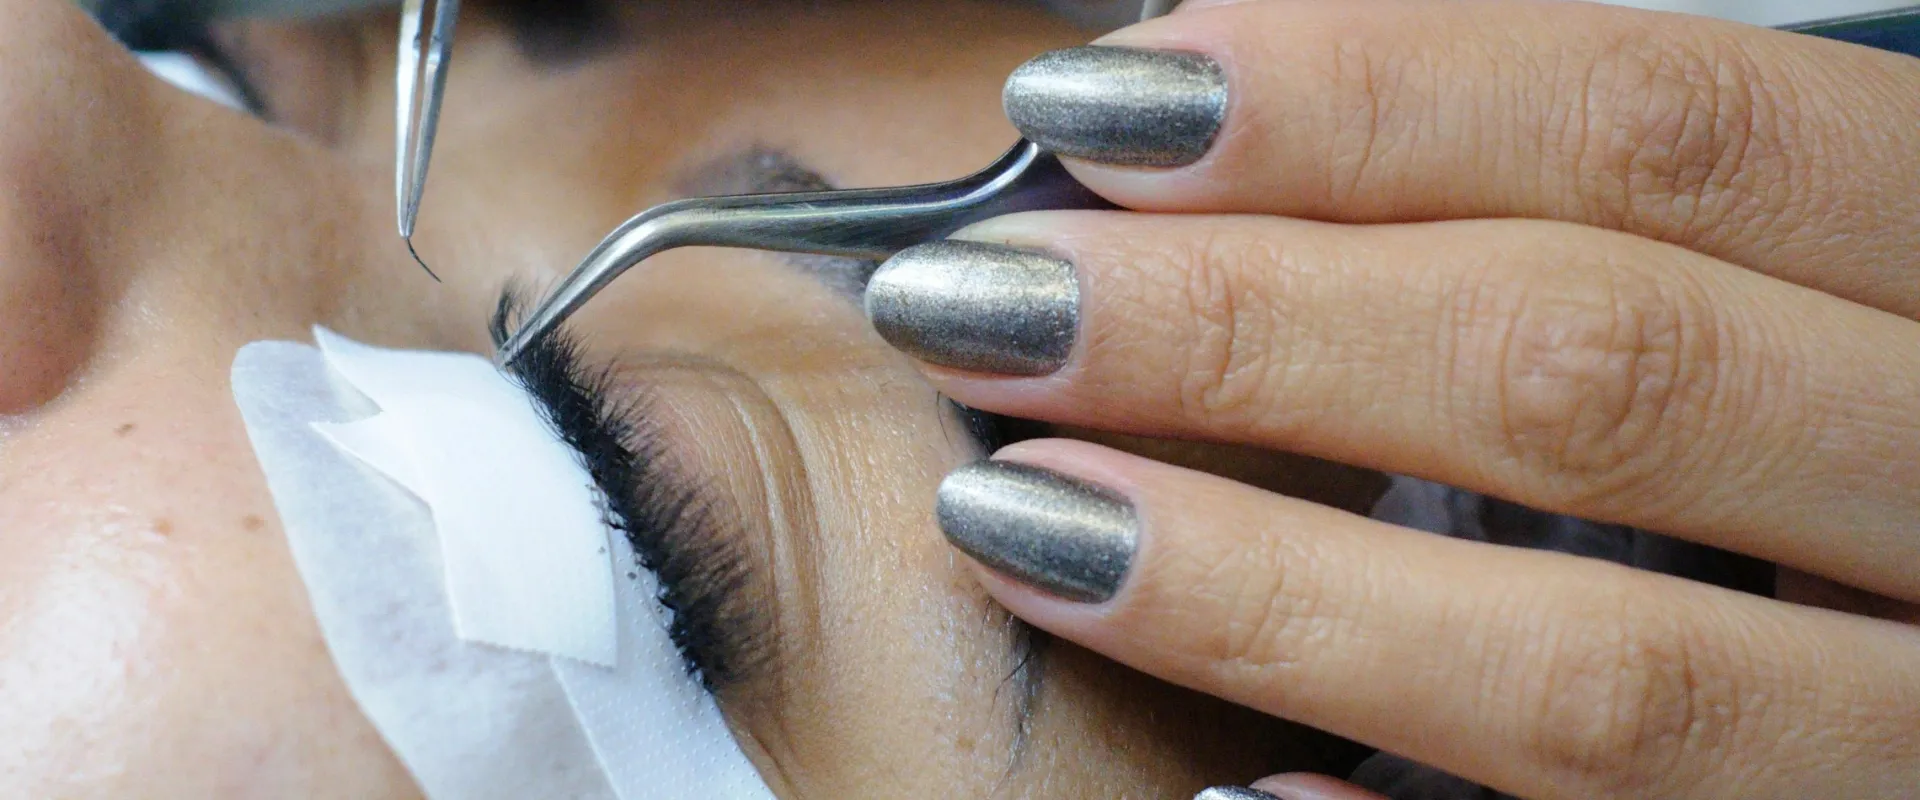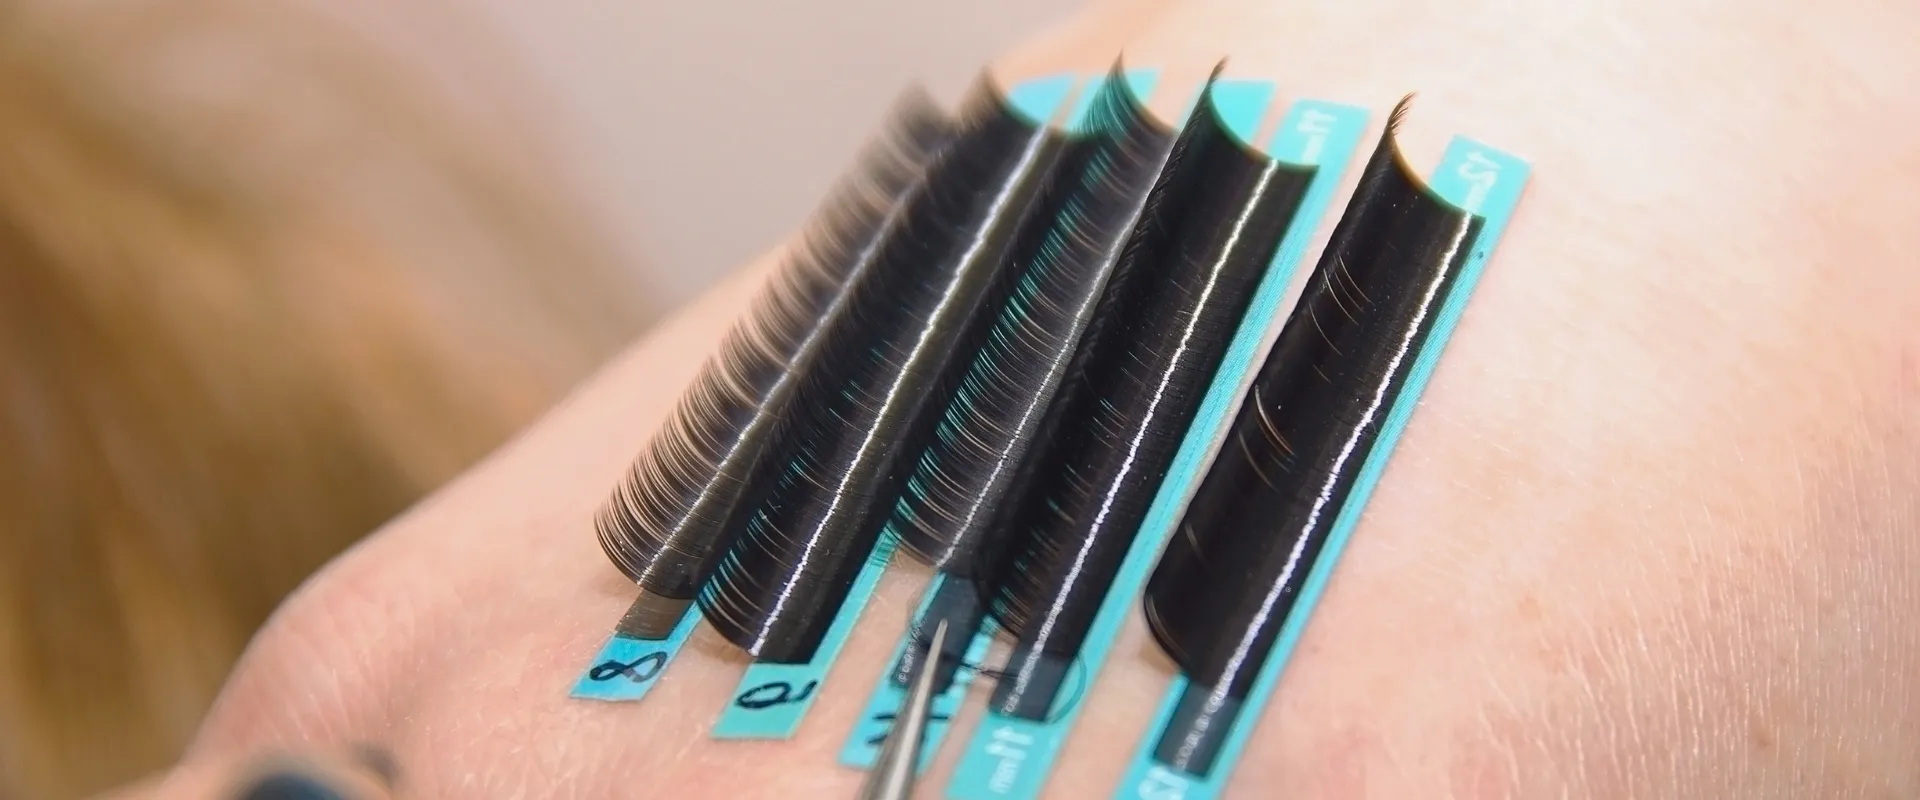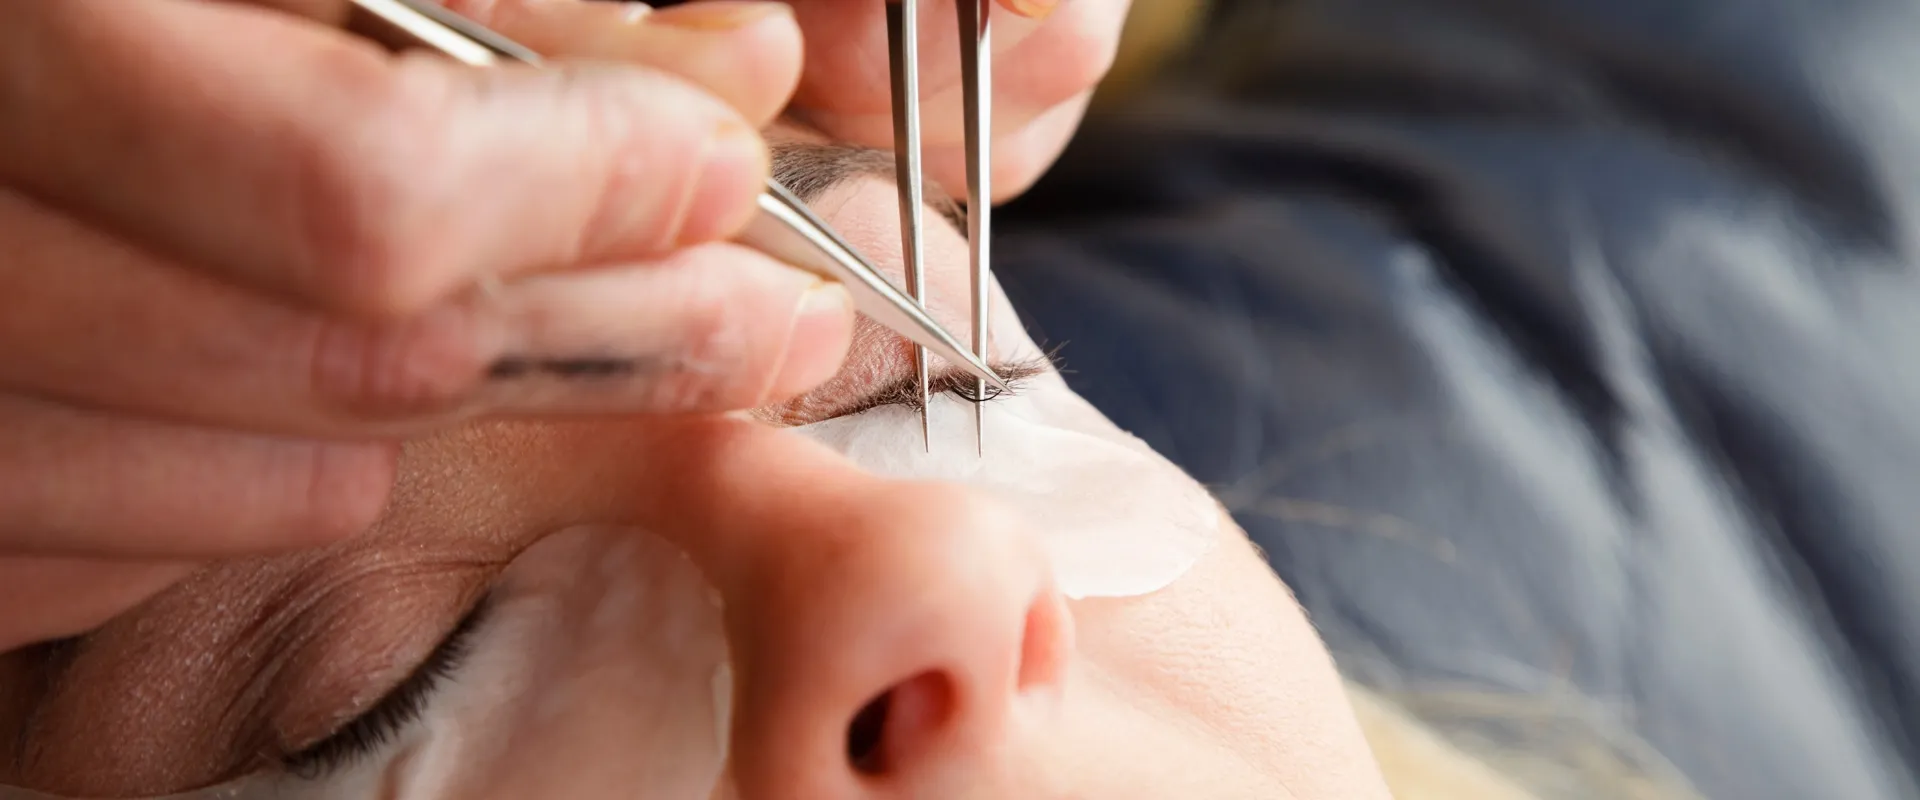


Why do some lash sets that follow every step of the lash care protocol still fail within two weeks? Observations show that artists who swear by their primer-glue-bonder sequence end up with clients complaining about irritation or fall-out by day 10. The standard answer — “you’re using the wrong glue” — is usually wrong.
The problem often isn’t the order itself — it’s when the bonder gets applied. Many artists apply bonder mid-service, thinking it locks in the set faster. But that traps un-cured adhesive fumes against the lash line, causing irritation and weakening the bond. A properly formulated bonder — like the one from Lash Glues Factory — is designed for final application only, with low viscosity that won’t seep into the glue bond prematurely.
Getting the sequence right means knowing not just the step, but the timing and technique behind each one. This article breaks down the exact method for lash foam soap, primer, adhesive, bonder, and remover — so you can stop guessing and start retaining.
Preparation: Cleansing with Lash Foam Soap
Clean lashes are the foundation of retention.
You cannot get 4‑week retention on dirty lashes. Foam soap removes oils, makeup residue, and debris that block the adhesive bond. Lash Glues Factory’s foam soap is pH‑balanced to match the natural lash environment, so it cleans without stripping moisture.
How to apply and rinse without disturbing natural lashes
Apply a pea‑sized amount of foam soap onto a clean micro‑brush or lash wand. Gently work the foam along the lash line in a side‑to‑side motion, avoiding any rubbing that can twist or dislodge extensions. Keep the strokes light and one‑directional.
Rinse by squeezing a small stream of lukewarm water over the closed eye. Do not aim directly at the lash base. Pat the area with a lint‑free napkin to absorb excess water, then move immediately to drying. Residual moisture is the enemy of cure time.
Drying techniques: fan or blow‑dry on low heat
A handheld fan or the salon’s overhead fan speeds surface evaporation. Hold it about 12 inches from the client’s face for 45–60 seconds. For a blow‑dryer, use the cool or low‑heat setting only – any heat softens the adhesive bond before it sets.
Check that every lash is fully dry by sliding the micro‑brush along the lash line. If you feel any dampness, continue drying for another 15 seconds. A completely dry base is the single most important step for the primer and glue to work correctly.
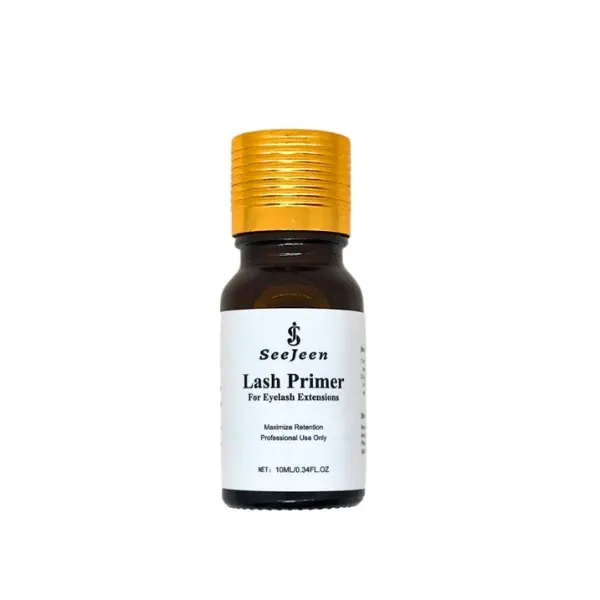
Step 1: Primer Application
Primer normalizes pH before glue.
Primer is the first chemical step in the lash prep sequence for retention. It strips residual oils and adjusts the natural lash pH to 6.5–7.0, a range where cyanoacrylate adhesives cure fastest. Skip this step and bond strength drops noticeably by the two-week mark.
Microbrush Technique
Dip a fresh microbrush into the primer, then wipe one side along the brush rim. Stroke each lash from base to tip in one clean pass. That single coat is enough. Going back adds pooling — and pooling on the skin causes redness and stinging.
Skin contact is the most common mistake artists make. Primer contains acetone and alcohol. It thins the adhesive if it mixes with the glue at the base, and it irritates the eyelid if left on. Keep the microbrush angled away from the lash line.
Drying Time and Correct Evaporation
After applying primer, fan the lashes for 30 to 60 seconds. The surface should look dry but not brittle. Over-drying leaves a white haze; under-drying leaves a tacky film that interferes with bonder later. Test one lash with a clean tweezers — if it feels dry to the touch, proceed.
Temperature and humidity affect drying speed. A room at 22°C and 50% humidity needs about 45 seconds. High humidity slows evaporation, so add another 15 seconds. The goal is a uniform matte finish along every lash.
Step 2: Lash Glue Application
Primer changes your glue’s working time more than most lash artists realize. After you prime each natural lash, the pH of the hair surface shifts into the ideal range for cyanoacrylate adhesion — typically 7.5 to 8.0. That shift accelerates the curing reaction. The result is a shorter working window and a noticeable increase in adhesive viscosity as you move through the set.
How Primer Alters Adhesive Viscosity
A well-dried primer leaves a microscopically thin alkaline residue. When your glue droplet hits that primed surface, the polymerisation starts faster than it would on a bare, untreated lash. If you use a fast-drying glue from Lash Glues Factory (drying time 0.5–1 second), that acceleration can drop your actual working time by 20–30%. For classic sets, you compensate by taking smaller dips or switching to a slightly thicker viscosity grade. For volume fans, the glue must remain fluid enough to penetrate the fan base — so a medium-viscosity formula (like the 1–2 second variant) pairs best with thorough priming.
Bonding Technique: Classic vs. Volume Sets
Classic lashes need a full, centered glue bead that wraps 1.5–2 mm from the lash base. Dip the extension one-third into the droplet, then slide it off the side to remove excess. On a primed lash, that bead cements within 1–2 seconds — your placement must be precise on the first try. Volume fans require a different approach: the glue must reach the inner notches of the fan without flooding the base. Use the tip of the fan to pick up a micro‑droplet, then tap it onto the natural lash so the adhesive wicks into the fan’s V‑gap. Over‑priming can make the glue skin over too fast for proper wicking. If you see the glue beading on the fan instead of drawing in, let the primer evaporate an extra 5 seconds before applying glue. Lash Glues Factory’s sensitive‑formula glue (2–3 second dry) gives volume artists more leeway because its slower cure allows the fan to settle fully.
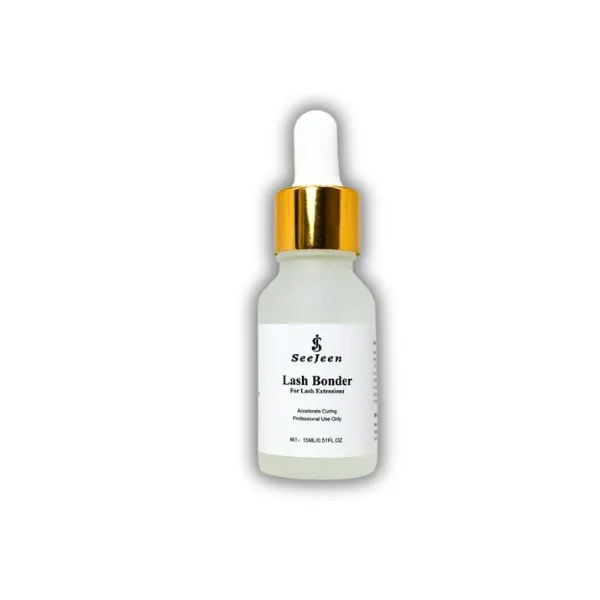
Step 3: Bonder Application
When to Apply Bonder: Set-by-Set vs. Full Set
The single most common mistake in lash extension application is applying bonder too early. Some artists brush it on after every eye or every few fans, thinking it speeds up the service. Here’s what actually happens: that uncured adhesive under the bonder layer traps volatile fumes against the lash line. Clients start blinking, tearing up, or complaining of a burning sensation before you even finish the other eye.
The correct timing is after the full set is complete . Every extension on both eyes must be placed and the adhesive must have started its initial surface cure (typically 1–3 minutes depending on your glue’s drying speed). Only then do you apply bonder. This ensures the cyanoacrylate polymer has already begun cross-linking, so the bonder seals the surface without interfering with the chemical reaction below.
Why does this matter for retention? If you seal a half-cured bond, the inner glue stays soft longer. The extension loses grip at the natural lash junction. Your client loses three fans by day three. The fix is simple: finish both eyes, let the glue breathe, then bonder.
How to Avoid Bonder Pooling at the Base
Bonder pooling — that visible wet spot sitting at the lash line — looks unprofessional and can irritate the skin. It happens when you apply too much product or brush too close to the base.
Use a micro-tip brush with the smallest amount possible . Dip once, tap off the excess on the bottle rim. The brush should look damp, not dripping. Start applying from the mid-section of the lashes outward, not from the base upward. This pushes the liquid toward the tips, not toward the skin.
If you still see pooling, immediately wick it away with the dry side of a lint-free swab before it dries. Do not let it sit — it will harden into a crust that weakens the bond. Lash Glues Factory’s bonder has a deliberately low viscosity formula that migrates less than standard sealers, but technique still matters. Keep the brush angled slightly downward and work in sections.
Step 4: Remover (for removal service)
One wrong soak can damage natural lashes permanently.
Proper Soaking Method for Gentle Removal
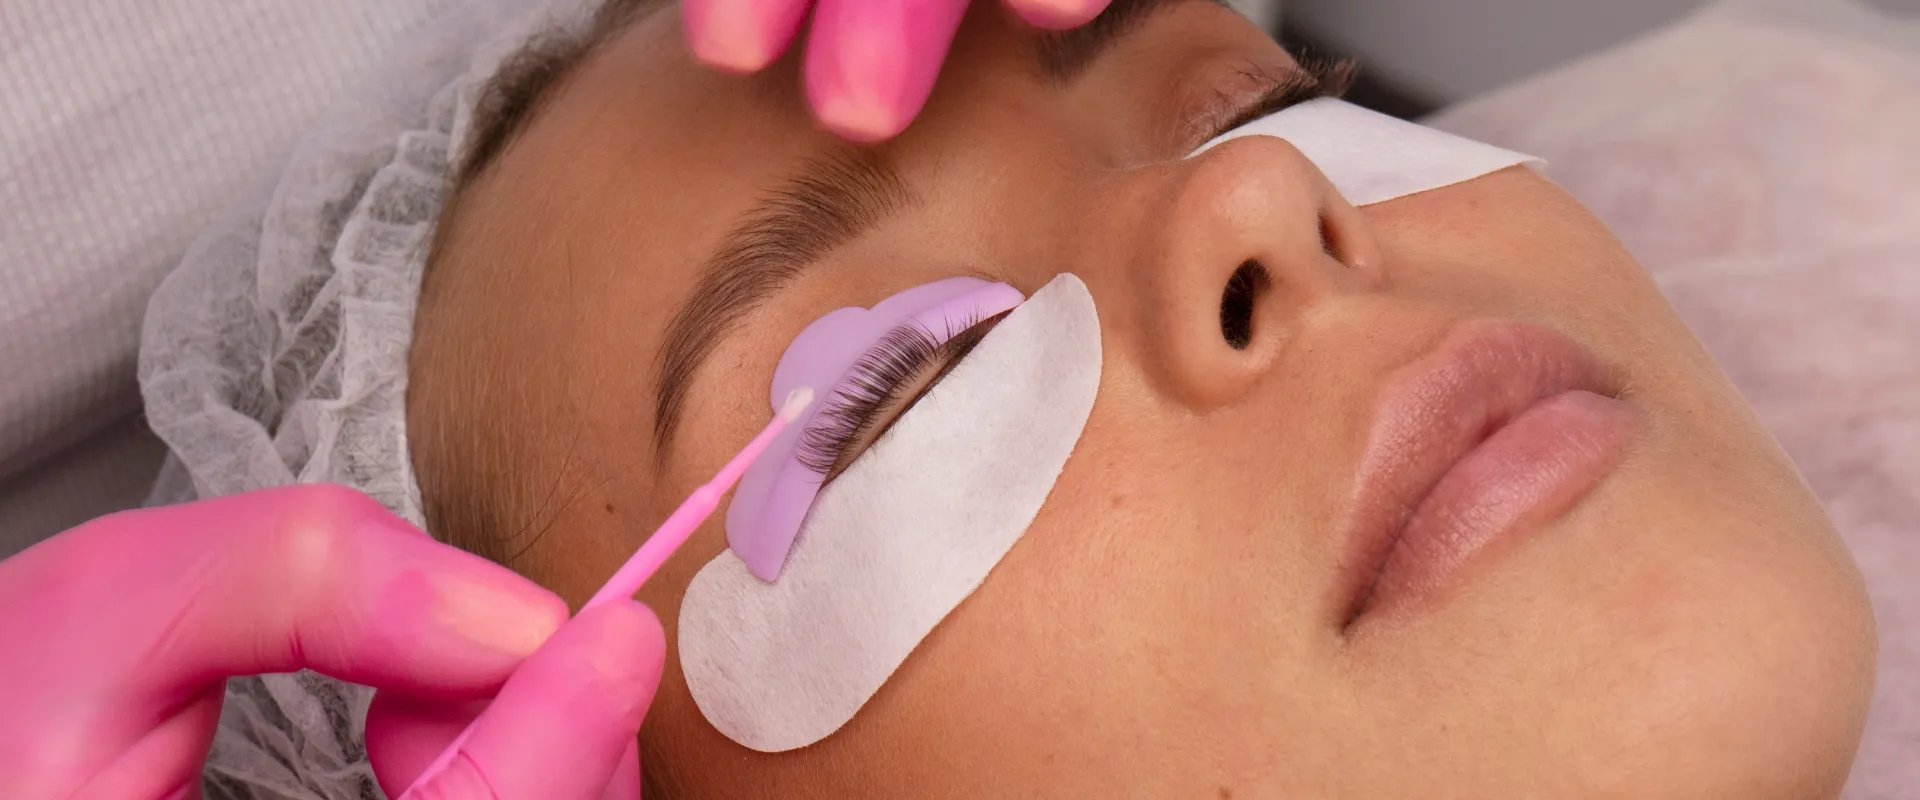
The goal of removal is to dissolve the adhesive bond without pulling or tugging. A lash remover soaking method that works starts with saturating a micro-swab or cotton pad with a gel-based remover. Apply it to the base of the extension, covering the glue bond entirely. Avoid flooding the skin — excess remover can seep into the eye and cause irritation.
Leave the remover on for 2–3 minutes. The adhesive softens from the outside in. Do not rush. If extensions don’t slide off with gentle pressure, reapply a fresh layer and wait another 90 seconds. For sensitive clients, use a remover formulated with aloe or chamomile to reduce stinging. Lash Glues Factory offers a professional-grade remover designed to break down cyanoacrylate bonds in under 3 minutes without swelling the natural lash follicle.
Neutralization and Aftercare
Once all extensions are removed, the natural lashes need a pH reset. Residual remover left on the lash line can dry out the cuticle and cause brittleness. Apply a neutralizing cleanser or a mild lash foam soap to the lashes and lash line, then rinse thoroughly with water.
Follow up with a conditioning serum or an oil-free lash nourisher to restore moisture. Advise clients to avoid waterproof makeup and lash curlers for at least 48 hours after removal. This downtime lets the natural lash cycle recover before any new extensions are applied. Skipping neutralization is a common mistake that leads to poor retention on the next set — the follicles stay alkaline and reject fresh adhesive.
Common Pitfalls and Fixes
Retention Fails Despite Correct Protocol
You followed every step exactly — cleanse, prime, glue, bonder — and still get early shedding. The culprit is timing, not technique. The most common mistake artists make is applying bonder mid-service. That traps un-cured adhesive fumes under the seal, causing the glue to weaken from the inside and irritating the client’s lash line. The bonder must go on after the entire set is placed. Lash Glues Factory’s bonder is formulated for end-of-set application only — its low viscosity prevents it from seeping into the glue bond prematurely.
Another hidden factor: primer over-application. Too much primer leaves a residue that interferes with the adhesive’s grip. One microbrush stroke per natural lash is enough. If the primer pools at the base, blot it gently with a dry microbrush before it dries. Retention usually snaps back once you dial in the exact primer volume and bonder timing.
Adjustments for Oily Skin or Humid Environments
Oily skin breaks down the adhesive bond faster than dry skin. The fix starts with prep: use a degreasing primer or a second cleanse with oil‑free foam soap. Let the lashes air‑dry for an extra 30 seconds after blow‑drying to ensure no residual moisture sits on the lash base. For clients with persistent oiliness, switch to a sensitive‑formula glue that cures with less volatility — it bonds more securely on oily lash shafts.
Humidity above 60% accelerates glue cure speed but can also cause brittle bonds if the moisture content in the air disrupts the polymer chain formation. In high‑humidity environments, reduce the glue drop size and replace it every 15 minutes instead of every 20. Use a dehumidifier in the service room if possible. Some artists find that applying a thinner bonder layer in humid conditions prevents the seal from trapping excess moisture. Test your specific climate with your preferred glue batch before taking on a new client with known oily skin. One controlled trial will tell you more than any generic chart.
Conclusion
Getting the lash care protocol right means more than just better retention—it prevents client irritation and avoids mid-service corrections. The most common failure point isn’t the glue; it’s applying bonder before the set is complete, which traps fumes under the seal. Stick to the sequence: foam cleanse, primer on dry lashes, glue, then bonder only after the last extension is placed.
- Primer normalizes lash pH before glue contact.
- Bonder applied mid-service locks in un-cured fumes.
- Low-viscosity bonder avoids pooling at the base.
- Remover soak time matters more than scraping.
If you’re training staff or standardizing your own routine, review the bonder formulation you’re using now. Lash Glues Factory’s bonder is designed for end-of-set application only, and its low viscosity prevents seepage into the glue bond. Browse the specific product page to compare viscosity specs and drying times against your current supplier’s claims.
Frequently Asked Questions
What is the correct lash care product order?
The correct order is lash cleanser (foam soap), primer, glue, bonder, then remover for removal. Primer normalizes pH before adhesive, and bonder seals after the set is placed. Always follow this sequence for maximum retention.
How long should I dry primer before applying glue?
Dry primer until the natural lash looks slightly frosted and no longer feels damp—typically 5 to 10 seconds. Applying glue too early will thin the adhesive and slow cure speed. Wait for full evaporation, not just a few seconds.
When should bonder be applied during a lash set?
Apply bonder immediately after the full set is finished, not after each individual lash. Applying too early or in puddles can cause glue to turn brittle and irritation at the base. A thin swipe across the full set is all you need.
How do I remove lash extensions without hurting natural lashes?
Soak the extensions thoroughly with remover gel until the bond softens—usually 2 to 5 minutes—then gently slide them off. Never pull or yank; neutralize with lash cleanser and apply conditioning serum afterward. Always follow with aftercare to restore lash health.
What if retention fails even with correct protocol?
First check your client’s oil levels and humidity—oily skin may need a stronger oil-resistant primer or bonder. Adjust drying times in humid environments, and verify that your glue is not expired. Test with a different primer or bonder to isolate the issue.