


test lash glue samples is the first checkpoint buyers should lock before they approve a supplier, budget, or production slot. The operator at the formulation bench knows within the first three seconds of pulling the plunger. If the drop forms a clean, consistent bead on the tip of the nozzle, the batch is on spec. If it strings out or breaks off mid-air, something shifted in the mix. That’s the kind of detail that never shows up on a sales sheet or a price quote, but it’s the difference between a glue that holds for three weeks and one that starts shedding on day five. Every buyer who skipped the sample test and went straight to a bulk order has a story about a $50K batch that didn’t match the pre-production sample. The retention curve looked fine in the lab under ideal conditions, but the real-world application fell apart because the operator didn’t catch the viscosity drift during the fill run.
Testing lash glue samples before committing to a bulk order isn’t just a box to check. It’s the only way to verify that the production line will deliver the same performance you validated in the sample kit. A proper lash glue sample testing protocol covers more than just drying time on a mannequin head. You need to run the same glue across different humidity levels, check for separation or crystallization in the bottle after a week of storage, and confirm that the batch number on the sample matches the batch number on the SDS. If the factory sends a sample that performs well but the bulk order comes from a different production run without traceability, you’re essentially gambling on consistency.
The three-point checklist for any buyer reviewing a sample kit is simple: Does the glue hold under controlled conditions for 21 days? Does the bottle show no visible separation or thickening after seven days of storage? And does the factory provide a batch-specific SDS that matches the sample bottle? A “yes” on all three removes most of the risk. A “no” on any one of them is enough reason to request a second round before placing the order.
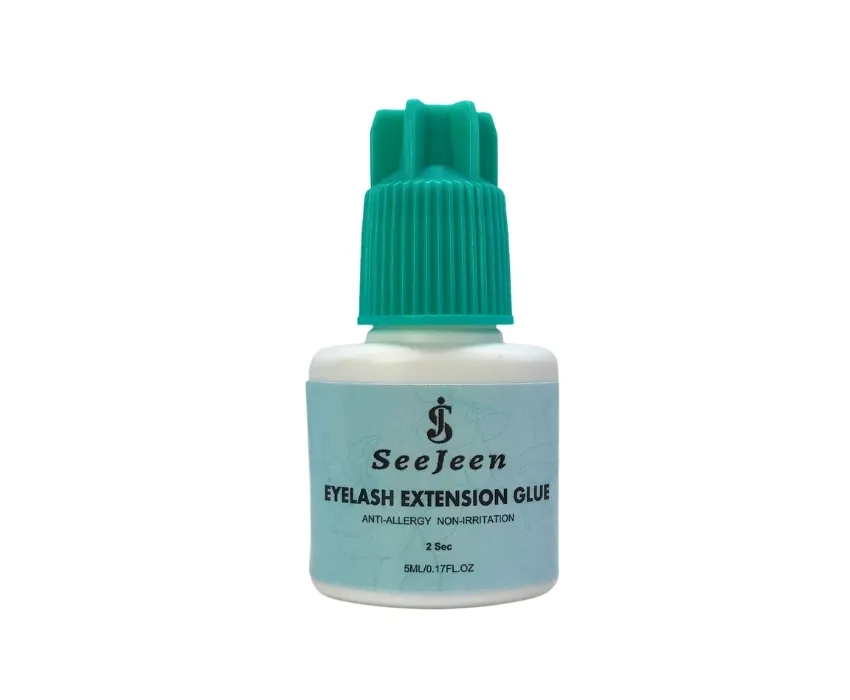
Why Testing Samples is Non-Negotiable
A bad batch costs you $2,000+ in lost product and client trust.
A salon owner skipped the sample step on a 50-bottle private label order. The glue arrived with a drying time of 8 seconds on the spec sheet but took 20 seconds in her studio. Humidity was within range. Temperature was fine. The formulation simply didn’t match the promised performance. She burned through $2,400 in product and had to refund 12 clients who experienced premature shedding within the first week.
The math on skipping samples
A sample order for lash glue typically runs $15–$40 including shipping, depending on how many drying speeds you request. A bulk order of 100 bottles at wholesale pricing lands somewhere around $1,200–$2,500 depending on formulation and packaging. That gap — roughly $20 versus $2,000 — is where most buyers get burned.
The real cost isn’t just the glue itself. It’s the lost retail revenue from those bottles. If each bottle serves 15–20 full sets at $80 per set, a single bad batch represents $12,000–$16,000 in missed service income. Plus the time spent redoing sets for unhappy clients.
What a proper sample run should include
- $20 vs $2,000 risk gap: $20 covers a representative sample kit from most manufacturers including Lash Glues Factory — enough to test retention across multiple drying speeds before committing to volume pricing.
- $12k+ in lost service revenue: $12k+ in lost service revenue sits behind every untested bulk bottle if the formula fails retention or causes reactions mid-week.
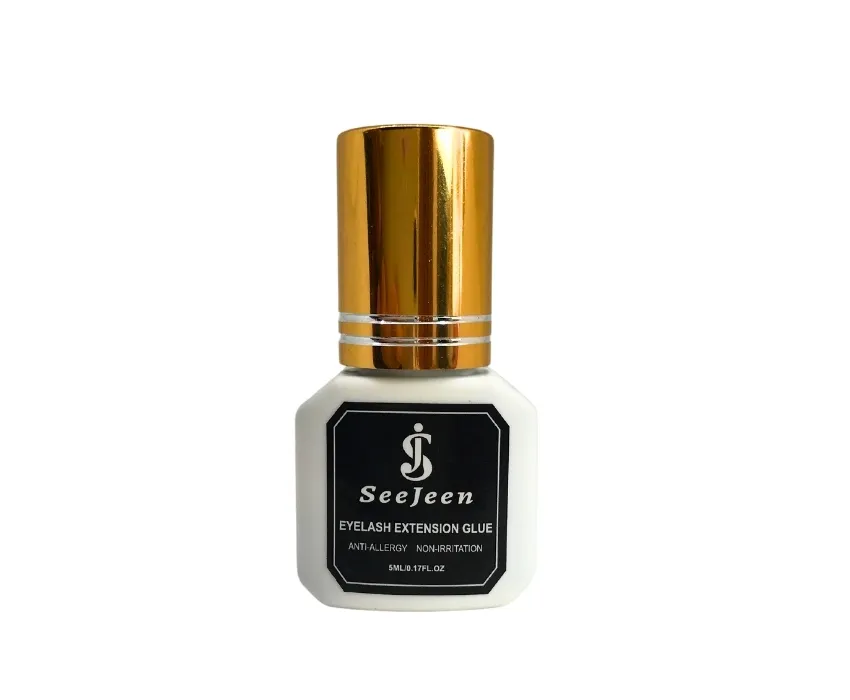
What to Request in a Sample Kit
A sample kit missing batch numbers is a sample you can’t trust.
Most buyers request a single bottle of glue and call it a day. That’s a mistake. A proper sample kit from Lash Glues Factory should give you the full picture — not just one drying speed in one color. You need to test across the range your clients will actually use.
Full Range of Drying Speeds
Ask for samples in at least three drying speeds: fast (0.5–1 second), medium (1–2 seconds), and sensitive (2–3 seconds). Each formula behaves differently under real salon conditions — humidity, client sensitivity, and lash artist technique all interact with cure time. A fast-dry glue that works well on a mannequin head may cause excessive fumes or stinging on a live client. Testing all three speeds lets you match the adhesive to your actual client base before committing to bulk lash adhesive sample evaluation.
Clear and Black Glue Options
Black glue dominates classic lash sets because it blends with natural lashes. Clear glue is preferred for volume fans and wet-look applications where any visible residue breaks the finish. Both formulations have different viscosity profiles — clear adhesives tend to be slightly thinner, which affects fanning control. A private label lash glue quality check should include both colors so you can compare application feel side by side.
Safety Data Sheet (SDS) and Batch Number

Step-by-Step Sample Testing Protocol
Test under controlled humidity and temperature — anything else is a guess.
A reliable lash glue sample testing protocol starts with the environment. Humidity must be between 40-60% and temperature at 20-25°C. Most salons skip this, then wonder why the same glue behaves differently on Tuesday vs. Friday. The chemical cure rate of cyanoacrylate shifts dramatically outside that range — too humid and it cures too fast on the tray, too dry and it won’t bond at all.
Day 1: Application and drying time test
Apply the sample to a mannequin head first — not a live client. Use the same number of lashes per eye you’d use in a full set (typically 60-80 extensions per eye). Clock the drying time from the moment the last lash is placed. A fast-dry formula should tack within 1-2 seconds and set fully within 3-5 seconds. If you’re waiting longer than 8 seconds for a standard formula to grab, the batch may be compromised or stored improperly before shipping.
Day 2: Retention check after 24 hours
Check for fallout after one full day of simulated wear on the mannequin head. Gently brush through with a clean spoolie — any lashes that shed without resistance indicate poor initial adhesion. Industry benchmark for acceptable loss in the first 24 hours is under 5%. If more than half a dozen extensions fall off a single eye, flag that batch number immediately.
Day 7: Full retention and wear test
By day seven, you know whether this glue belongs in your retail rotation or your waste bin. A passing sample retains at least 80% of applied lashes after one week on a mannequin head under normal room conditions. Anything below that threshold means clients will be back for fills inside two weeks — which kills your margins on package pricing.
Allergen patch test on clients
Before rolling out any new private label lash glue quality check to paying clients, run an allergen patch test on three volunteers who have no known adhesive allergies. Apply one single extension to each outer corner and wait 48 hours. Look for redness, swelling, or itching at the application site. This step filters out formulations with excessive ethyl cyanoacrylate content or unlisted additives that trigger contact dermatitis.
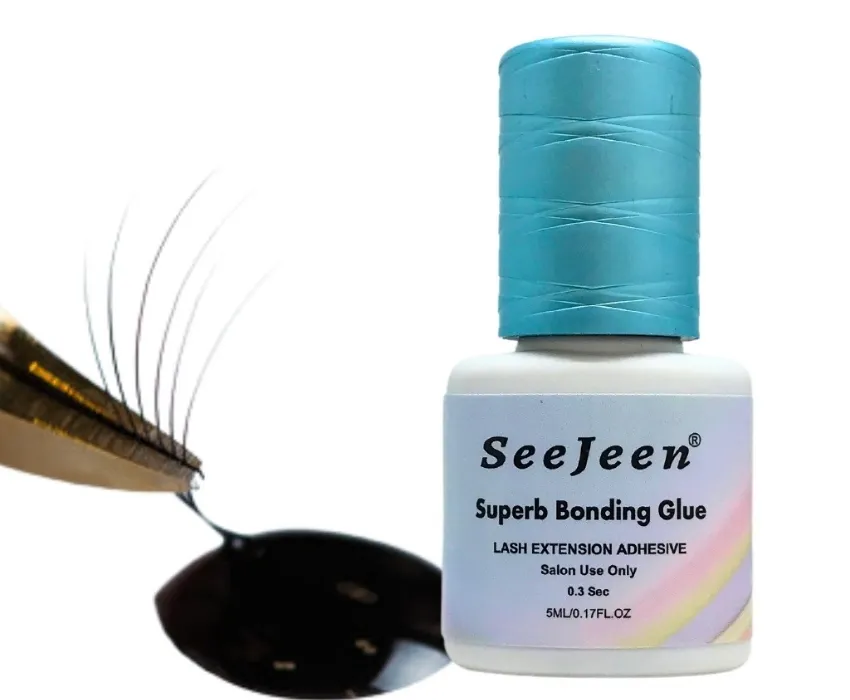
Evaluating Viscosity and Consistency
Viscosity changes by 20% with a 5°C temperature shift — test under controlled conditions.
When evaluating a bulk lash adhesive sample, viscosity is the parameter most buyers overlook. Drying time and retention get the attention, but flow characteristics determine how the glue behaves during application. A glue that’s too thin will run into the eye; too thick won’t bond properly. The real issue: inconsistencies in viscosity often show up only after the sample has been sitting in your studio for a few days.
Visual checks: separation, bubbles, and discoloration
Before you test the glue on a mannequin head, inspect the bottle. Look for separation — a clear liquid layer floating on top of the black or clear glue. That’s a sign the formula is unstable or the batch was poorly mixed. Bubbles are another red flag. A few tiny bubbles from shipping are normal, but persistent large bubbles indicate the vacuum degassing step was skipped or rushed. Discoloration in a clear lash glue sample often means the stabilizer has degraded, especially if the bottle was exposed to heat or sunlight during transit.
Using a viscometer at home vs. factory specs
A simple spindle viscometer costs around $200 and can give you a baseline reading. But factory viscometers are calibrated to a much tighter tolerance — typically ±2% vs. ±10% for a home-grade unit. The factory spec for a professional lash glue is usually in the range of 1000–2000 cP (centipoise) at 25°C. If your home test shows a reading more than 15% off from the stated spec, ask the manufacturer for the batch’s QC report. The factory should have a recorded viscosity for every production run. Always request a batch number when you order samples, so you can trace that specific bottle’s test data. A sample that passes the 3-week retention test on a mannequin head under controlled humidity (40–60%) and temperature (20–25°C) is a strong indicator of real-world performance.
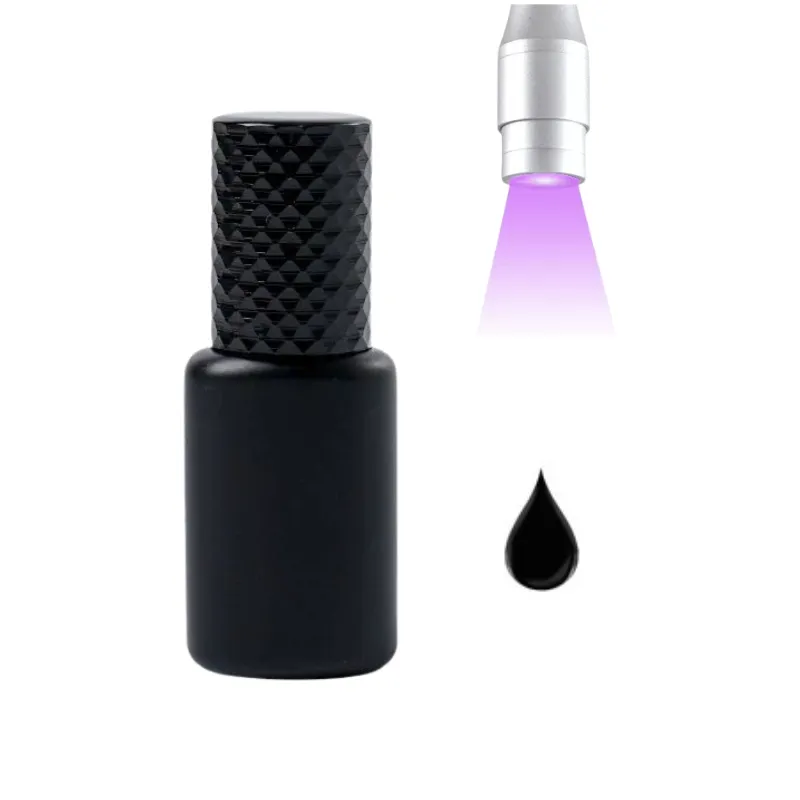
Common Red Flags in Samples
Three red flags that tell you more than any marketing page ever will.
A sample that smells wrong, stings on application, or shows visible separation in the bottle is not a candidate for reformulation conversations. It is a candidate for the trash bin. Here is what each sign actually means for your bulk order.
Unpleasant Odor: The Chemical Fingerprint
Lash glue has an odor — cyanoacrylate always will. But there is a difference between the sharp, clean smell of fresh monomer and the burnt-plastic reek of poorly stabilized resin. A strong, lingering chemical odor that hits your throat during application usually means the manufacturer skipped the stabilizer additives that keep the formula shelf-stable past week two. In practical terms: that glue will thicken inside the bottle before you hit the bottom of it.
Excessive Fumes or Stinging During Application
Some vapor is normal during cure. What is not normal is a client tearing up thirty seconds after lash one lands. Excessive fumes and stinging point to an imbalance in the monomer-to-additive ratio — specifically, too much volatile solvent and not enough fume-reducing agent. In a salon setting, this creates two problems: clients who refuse return bookings because of eye irritation, and lash artists who develop sensitivity over repeated exposure. A well-formulated sensitive glue should allow application without tears even on new clients.
Crystallization or Thickening in the Bottle
If your sample arrives with white crystals forming around the nozzle tip or a syrupy consistency that does not flow when tilted, do not test it on a mannequin head — let alone a client. Crystallization happens when moisture penetrates the seal and triggers premature polymerization inside the bottle. It means either the packaging seal failed during shipping or the factory did not control humidity during filling. Either way, it tells you that batch’s quality tolerance is unreliable at scale.
How to Document Results for Comparison
A scorecard kills recency bias.
Sample Scorecard Template
Stop choosing the last sample you tested because it’s freshest in memory. Build a scorecard that turns subjective impressions into comparable data. Run every sample through the same five criteria: drying time (seconds to tack-free), retention rate (percentage of lashes still intact at day 7), fume level (scale of 1-5 during application), viscosity consistency (any separation or bubbles visible in the bottle), and client reaction (redness or irritation noted within 24 hours).
Score each criterion out of 10, then total the row. A sample that scores below 35 across these five fields should be eliminated before you even discuss pricing. The scorecard forces you to compare apples to apples — a fast-drying glue with poor retention doesn’t get saved by its speed if your clients come back for refills every ten days.
What to Share with the Manufacturer for Feedback
When you send results back to the factory, don’t just say ‘the glue didn’t work well.’ That tells them nothing useful. Share your controlled test conditions — humidity at 45%, temperature at 22°C, applied on a mannequin head with identical lash trays — and attach the scorecard numbers. If retention dropped after day 5, say so. If the fumes were tolerable but the viscosity thickened by week two, include that observation.
A serious manufacturer will use your feedback to adjust formulation or recommend a different drying speed from their range. If they ignore the data or give you a vague response, consider that a red flag about their quality control process. The factories worth partnering with treat sample feedback as engineering input, not customer complaints.
| Metric | Test Method | Target Range | Red Flag |
|---|---|---|---|
| Drying Time (Seconds) | Stopwatch from application to tack-free | 1–3 sec (Fast) / 3–5 sec (Medium) | >5 seconds or inconsistent across lashes |
| 24-Hour Retention Rate | Count remaining extensions after 24 hrs on mannequin | ≥95% retention | <90% retention or visible gaps |
| 7-Day Wear Test | Full set on mannequin; check daily for shedding | ≥80% retention at day 7 | <70% retention or premature lifting |
| Viscosity & Consistency | Visual inspection for bubbles, separation, or crystallization | Smooth, uniform, no particles | Separation, clumps, or discoloration |
| Fume & Odor Level | Subjective rating during application (1–10 scale) | <3 (minimal fume/odor) | “Excessive fumes stinging lash glue sample red flag” |
Conclusion
The difference between a profitable bulk order and a costly write-off often comes down to how you handle the sample phase. A controlled test environment — 45% humidity, 22°C, a mannequin head for three weeks — filters out the formulations that look good on paper but fail in your chair.
- Test every sample at controlled humidity (40-60%) and temperature (20-25°C).
- Always request the batch number and SDS with your sample kit.
- Run a full three-week retention test before approving a bulk run.
- Document results with a scorecard to compare suppliers side-by-side.
Once your sample passes the three-week mark, you have enough data to move forward with confidence. Compare your documented results against the factory’s published specs for drying time and viscosity tolerance. If everything aligns, review Lash Glues Factory’s current adhesive range to see which formulations match your test criteria before scaling up.
Frequently Asked Questions
How do I test lash glue samples?
Test samples by applying them under controlled humidity and temperature, then check drying time, retention at 24 hours and 7 days, and look for separation or bubbles. Always run an allergen patch test on. Document results with a scorecard to compare batches.
What should a lash glue sample kit include?
A proper sample kit should include your chosen drying speeds (fast, medium, sensitive), clear and black glue options, plus the Safety Data Sheet and batch numbers. Without batch numbers you cannot verify consistency against future. Request batch numbers on every sample vial.
How long does it take to test lash glue samples?
Plan at least 7 days per sample: check drying time on day one, retention after 24 hours, and full wear performance at day seven. Rushing this timeline risks missing delayed separation or client reaction. Do not skip the full week test cycle.
What are red flags in lash glue samples?
Red flags include unpleasant odor, excessive fumes or stinging during application, and crystallization or thickening inside the bottle. These indicate poor formulation or improper storage that will worsen in bulk inventory. Reject any sample with visible separation or strong chemical smell.
Can I test lash glue viscosity at home?
You can visually inspect for separation and feel the flow from the nozzle tip. For precise viscosity matching factory specs you need a viscometer which home checks cannot replace. Use factory-provided viscosity data as your benchmark.

2 Responses