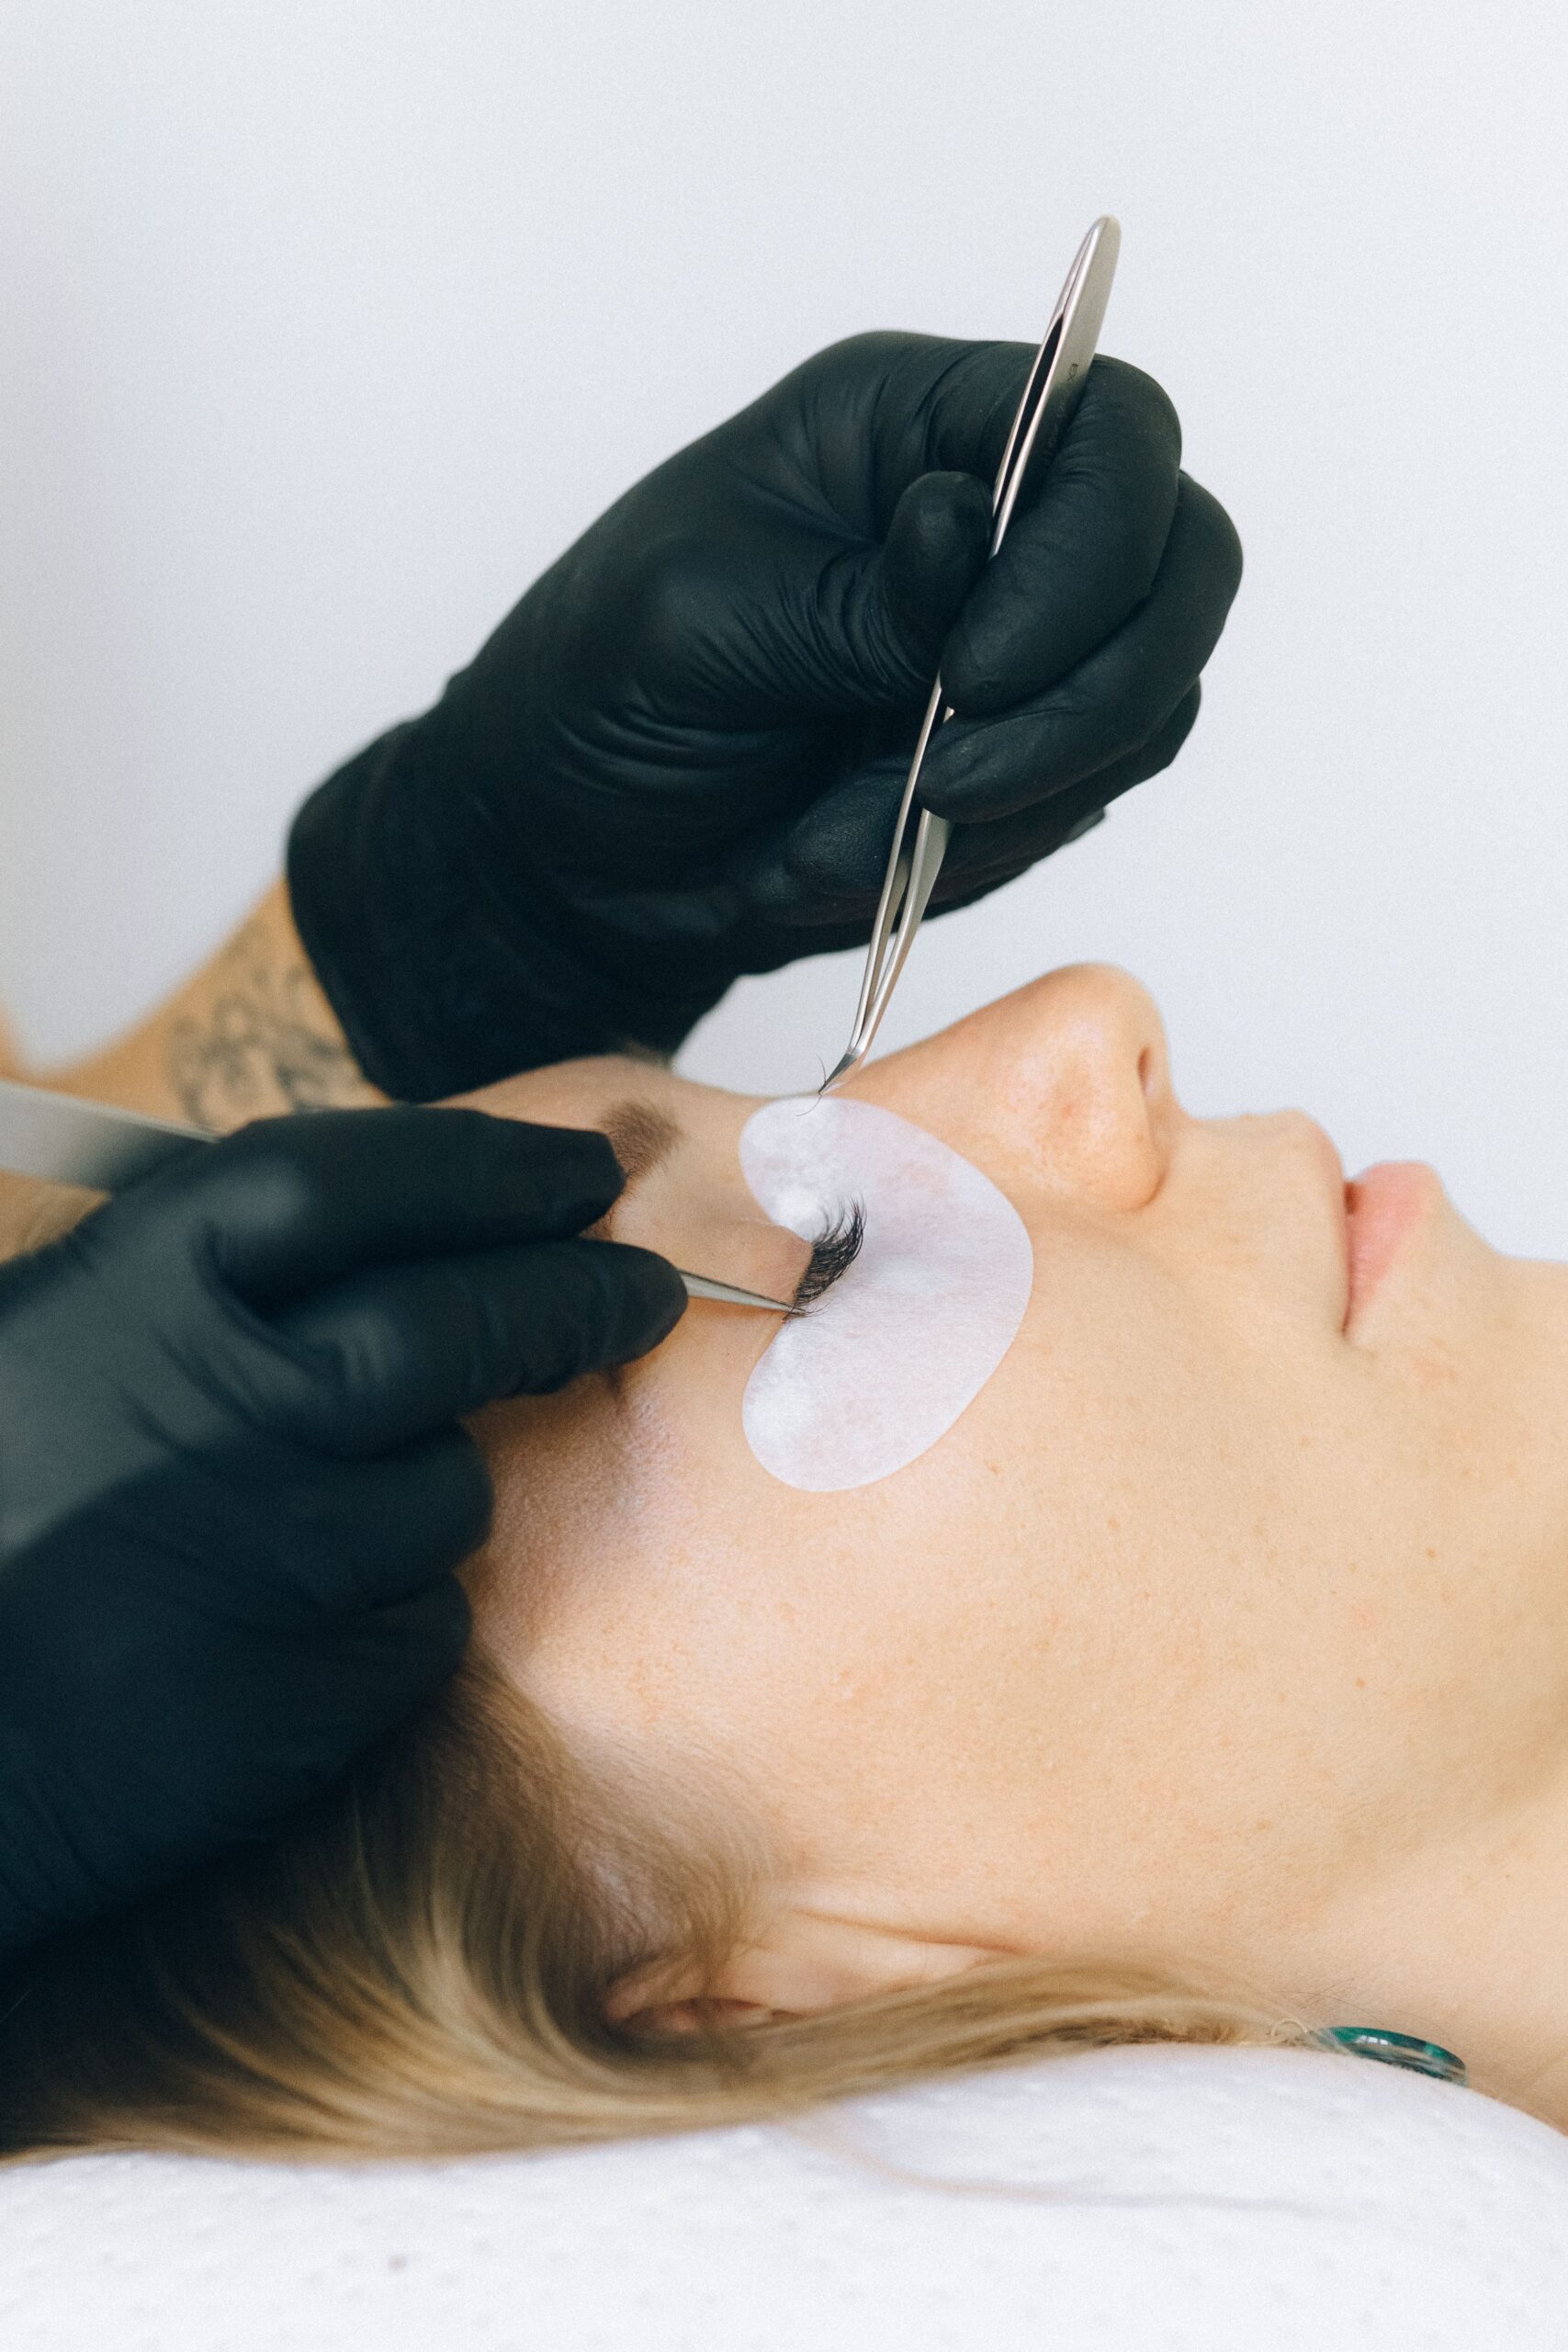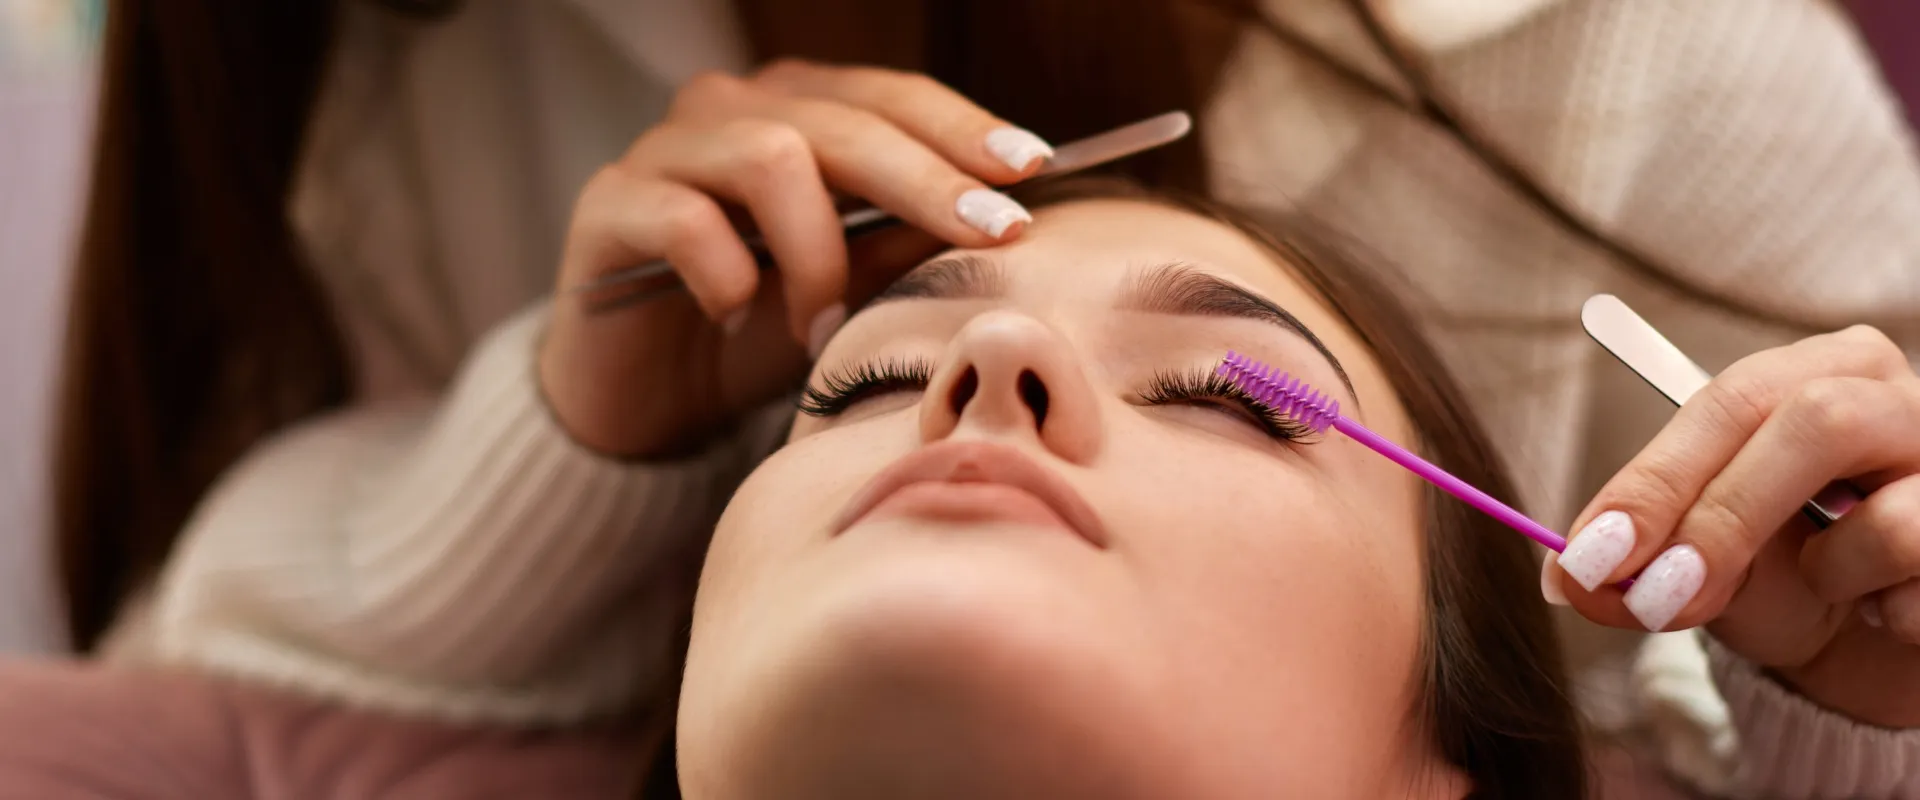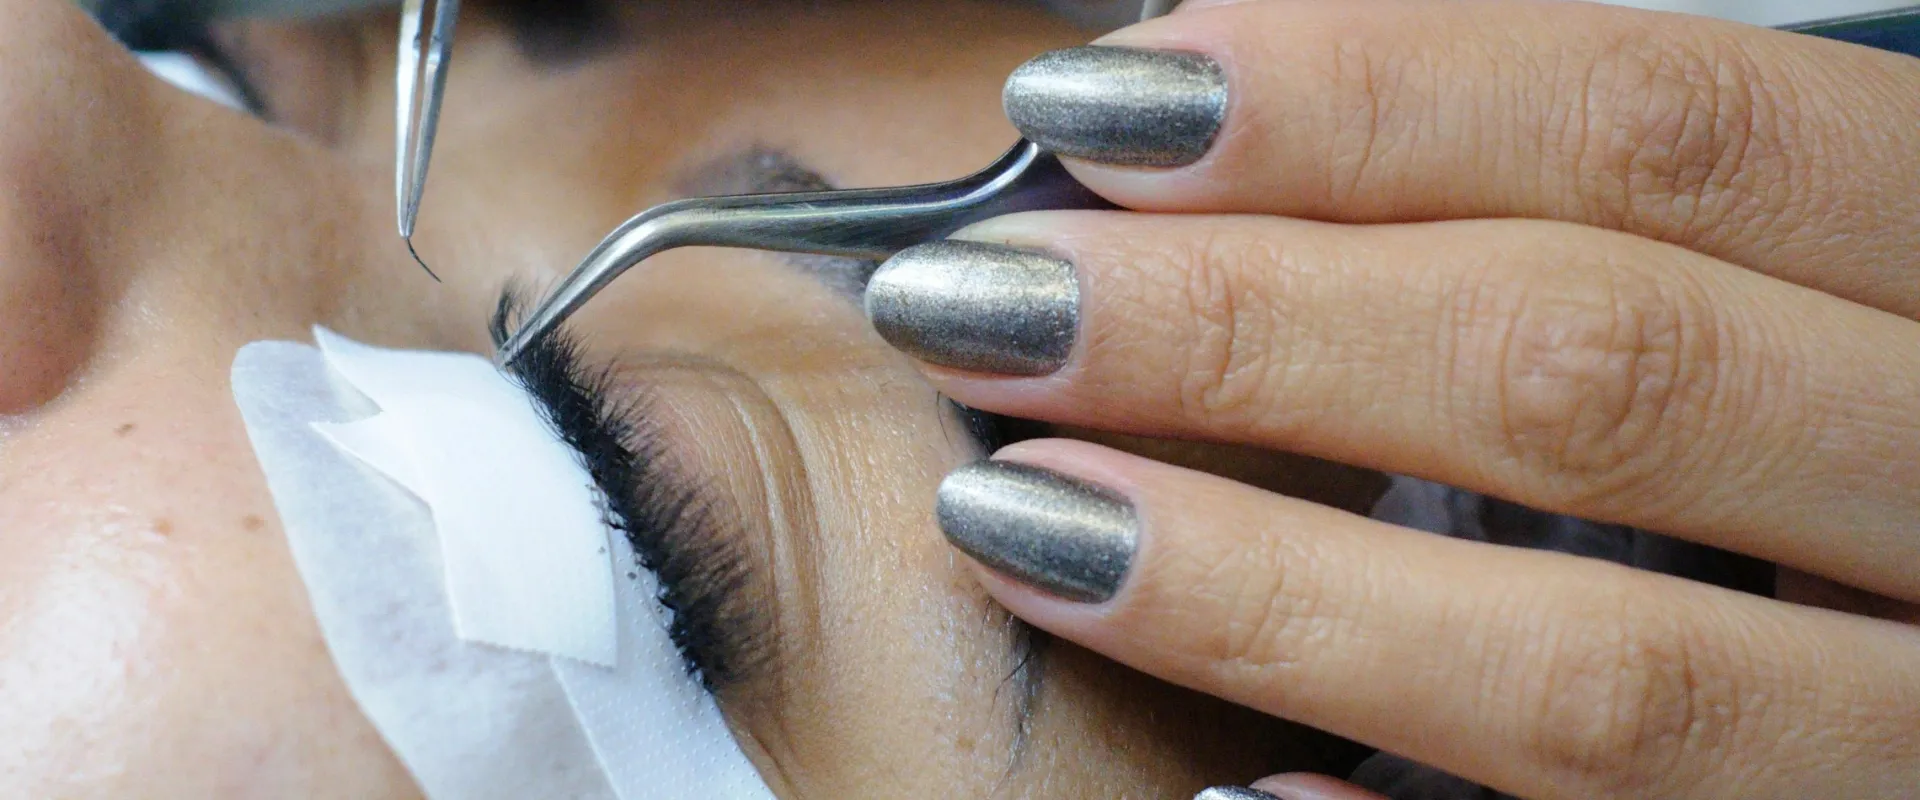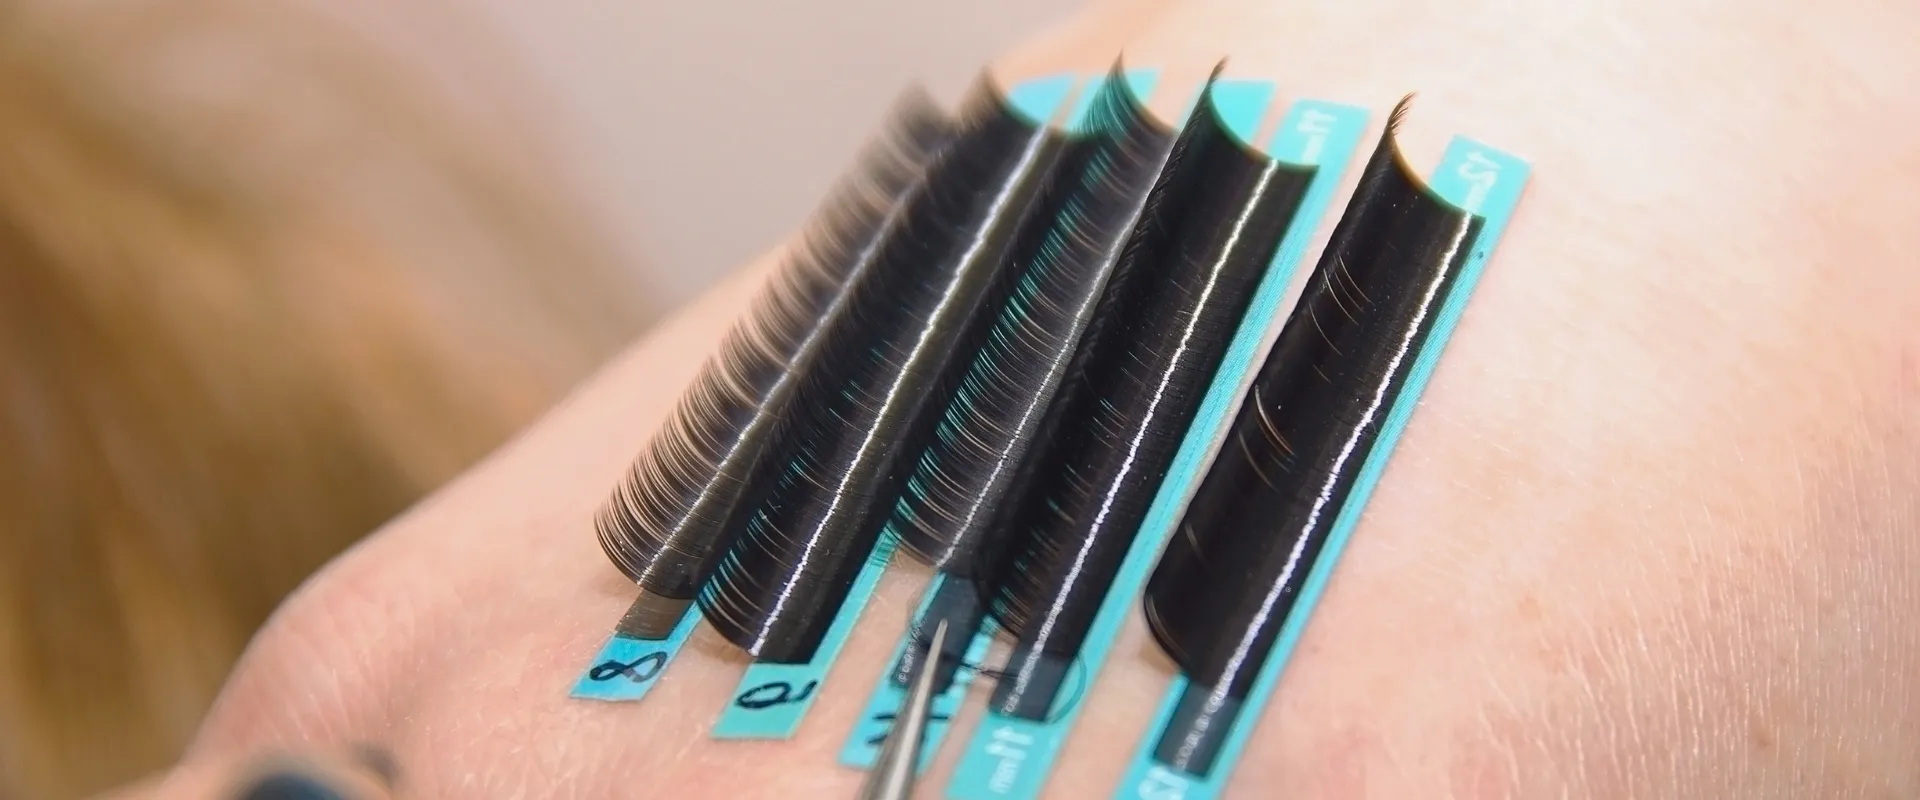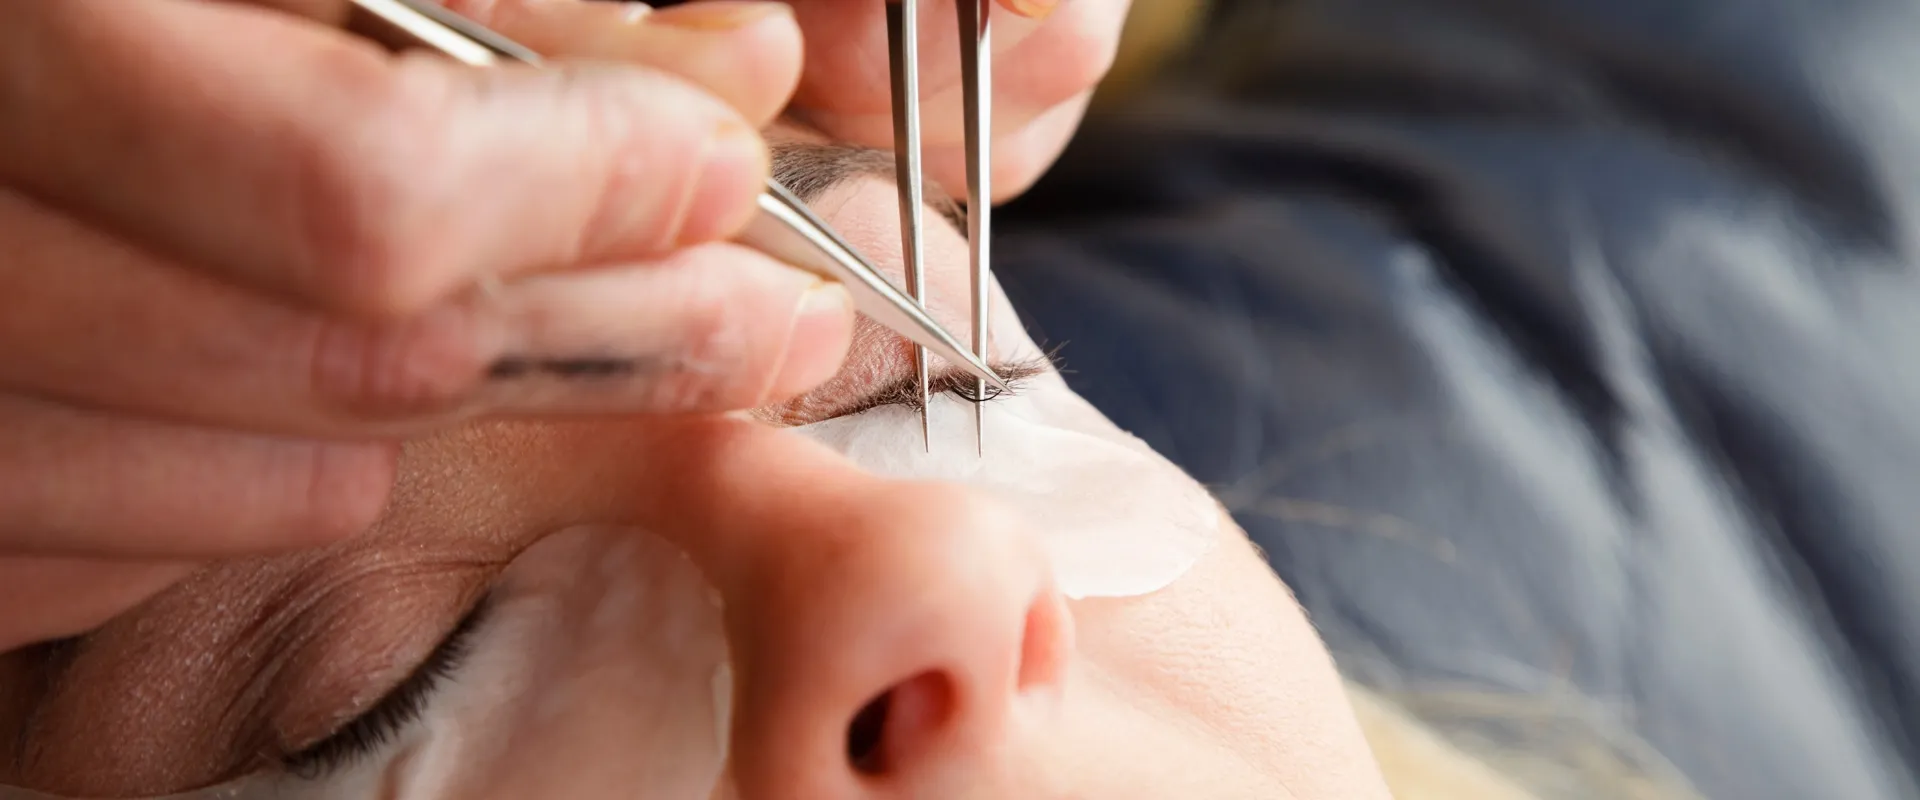


How to apply UV lash glue correctly starts with understanding one thing: the product you test in a single session isn’t always the product you’ll work with at volume. Consider a salon owner who placed a bulk order after a flawless sample approval — the FOB pricing was competitive, the quality tolerance matched her spec sheet. Day 45, when the shipment arrived, the glue behaved differently. Thicker. Slower to cure. Her artists had to relearn the technique on the fly. That’s the hidden cost of skipping the application learning curve.
The transition from traditional cyanoacrylate glue to UV-cured adhesive isn’t about swapping one bottle for another. It’s about changing your entire workflow — how much glue you drop in the ring, how you position the lamp, and how you read the bond. Most artists who struggle with UV retention are making the same mistake: they treat it like traditional glue and wonder why the results don’t match.
UV glue doesn’t cure in ambient light, which gives you more placement time, but that same property means your lamp wavelength and cure distance become critical variables. Get those wrong, and the bond fails at the deep layer even if the surface feels dry.
Preparing Your Workspace for UV Glue
UV glue only cures under the right wavelength.
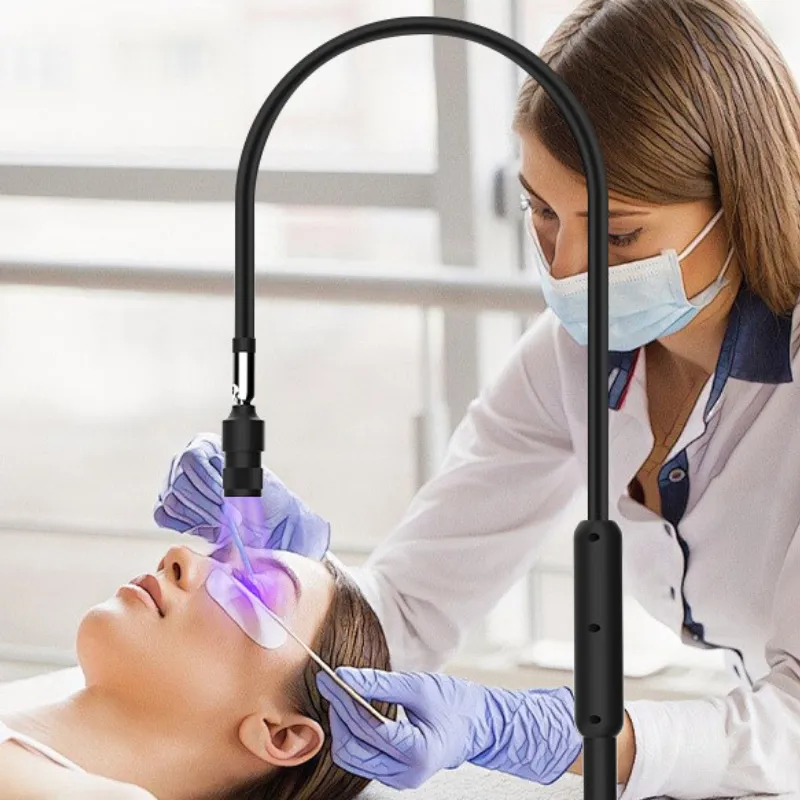
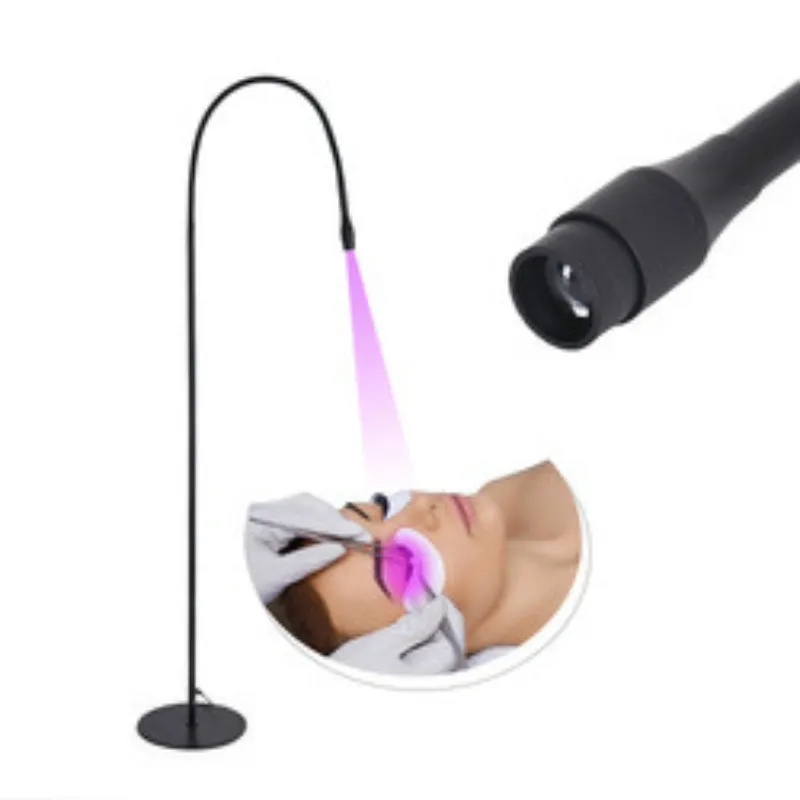
Required Equipment: UV Lamp (365nm or 395nm), Shielding, Glue Ring
The lamp wavelength is the single most common failure point for new UV users. A 365nm lamp penetrates deeper into the glue bead, curing the full layer from the inside out. A 395nm lamp works for thin applications but struggles with thicker bonds. A 405nm lamp will leave the center of your glue bead uncured every time — the bond looks solid on the surface but fails under tension within hours.
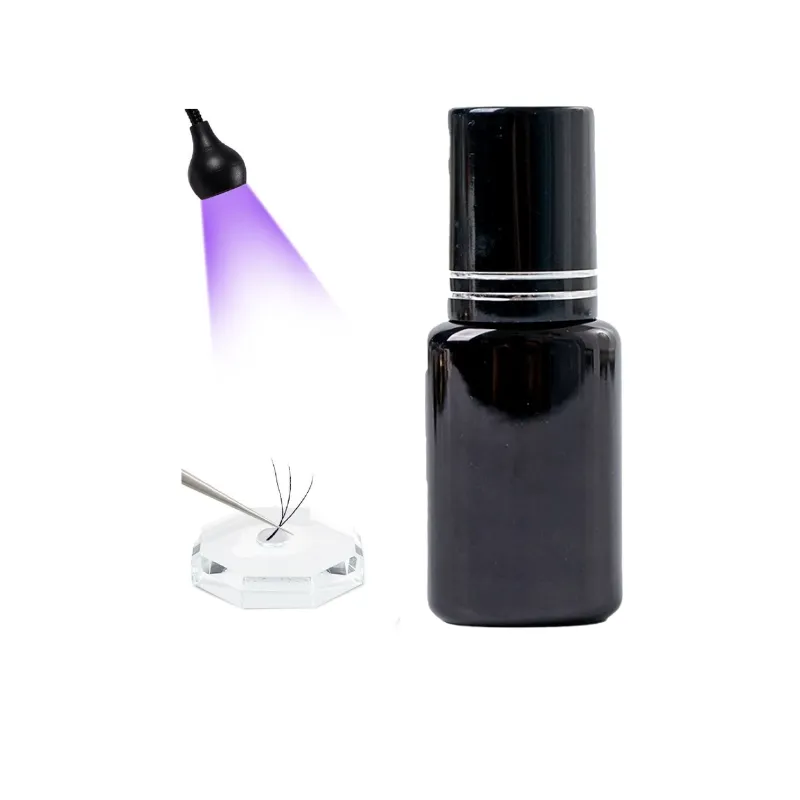
You also need a UV-blocking shield or goggles. The lamps emit concentrated light that can cause eye strain and skin sensitivity over a full day of appointments. A standard glue ring works fine for holding the drop, but switch to a black silicone ring — clear rings scatter UV light and reduce the intensity hitting the glue.
Step 1: Choosing the Right Glue Drop Size
Here is where most artists coming from traditional cyanoacrylate glue make their first mistake. UV lash glue is thicker. It does not spread the same way. If you dispense a drop the size you are used to, you will end up with a glue bead that spreads past the lash base and floods the natural lash. The ideal drop is roughly half the diameter of a traditional glue drop.
A drop the size of a pinhead — about 1.5mm across — is enough for 6 to 8 individual extensions. Anything larger than 2mm wastes product and creates a cure shadow where the UV light cannot reach the center of the glue bead.
Step 2: Dipping and Placement – Less is More
Dip only the bottom 1mm of the extension base into the glue. No higher. The UV glue does not run or wick like traditional adhesive, so you have full control over placement. That is the advantage. You can position the lash, adjust the angle, and even lift and reposition if the alignment is off — without the glue starting to set.
Set the extension 0.5mm to 1mm away from the natural lash base. UV glue needs a small gap for the light to reach the bond point. If you press the extension flush against the skin, the lamp cannot cure the underside of the glue bead, and that lash will slip off within 24 hours.
Step 3: Positioning the UV Lamp for Full Cure
Holding the lamp at a 45-degree angle 2 to 3 centimeters from the lash line gives the best coverage. Straight-on placement creates a hot spot in the center but leaves the edges of the glue bead soft. Sweep the lamp across the lash line in a slow, steady motion — do not hold it still over one spot. Each lash needs direct exposure, not ambient light.
Step 4: Curing Time by Lash Thickness (0.5-2 seconds)
0.3mm lashes cure in 0.5 to 0.8 seconds with a 365nm lamp. 0.5mm lashes need a full 1.5 seconds. 0.7mm or thicker volume fans require 2 seconds minimum. The lash thickness creates a physical barrier that blocks light from reaching the full glue bead. If you use a 395nm lamp, add 0.3 seconds to each of these times.
Do not rush this step. Under-cured UV glue looks dry but feels tacky to the touch. If the bond still has a slight give when you test it with tweezers, hit it with another 0.5 seconds of light.
Step 5: Checking Bond Strength Before Moving On
Gently lift the extension with your tweezers at the base of the lash, not the tip. A properly cured bond will hold firm with no movement. If the lash lifts away cleanly, the glue did not cure through the full layer. That is either a wavelength mismatch or insufficient exposure time.
Spot-check three lashes per eye before moving the client to the next eye. If one fails, pull the entire set and reapply with adjusted lamp position or longer cure time. This check takes 10 seconds and saves you a redo appointment 48 hours later.
Common Mistakes: Over-curing, Under-curing, Glue Spread
Over-curing wastes time, under-curing loses retention, and glue spread ruins the set.
Over-curing – When More Light Isn’t Better
UV lash glue cures through a photoinitiator that reacts under specific wavelengths — usually 365nm or 395nm. Hit it with 405nm light and the surface hardens while the core stays liquid. That partial cure looks solid on the lash line, but the bond snaps within hours because the deep layer never polymerized. The fix is simple: match your lamp wavelength to the glue’s spec sheet. A 395nm lamp works for most UV formulas; a dual-chip lamp that covers both 365nm and 395nm gives you flexibility across brands.
Another over-curing trap is exposure time. UV glue needs 0.5 to 2 seconds depending on lash thickness. Holding the lamp for five seconds doesn’t make it stronger — it makes the bond brittle. Over-exposed adhesive becomes rigid and loses the slight flexibility needed to absorb natural eyelash movement. The result? Lashes snap off at the bond point instead of shedding naturally.
Under-curing – The Retention Killer
Under-curing is more common than over-curing because artists underestimate how much light reaches the glue seam. A mini UV lamp held at a 45-degree angle might miss half the bond area, especially on lower lashes or inner corners where shadowing occurs. The glue remains tacky underneath, traps moisture against the natural lash, and breeds bacterial growth under the extension.
The standard fix: position the lamp perpendicular to each section of lashes and cure one eye quadrant at a time. For lower lashes, use a smaller curing window or a flexible wand-style lamp that can angle directly under the lash line without touching skin.
Glue Spread – The Thicker Formula Surprise
UV lash glue has a higher viscosity than traditional cyanoacrylate formulas — it doesn’t wick into place by itself. Artists who treat it like regular glue end up with blobs at the base of extensions or adhesive creeping onto adjacent lashes during placement.
“Less is more” applies harder here than with any other lash adhesive system.
Aftercare Differences: No 24-Hour Water Ban (UV Only)
UV glue clients can wash their face immediately.
The biggest aftercare difference between UV-cured and traditional cyanoacrylate lash glue is the 24-hour water ban. Traditional glues require a full day of no water contact because the cyanoacrylate needs humidity to cure fully. Miss that window, and the bond weakens. UV glue eliminates that constraint entirely.
No Water Restriction Period for UV Glue
UV glue cures under a 365nm or 395nm lamp in under 2 seconds. Once the lamp hits the bond, the polymerization is complete. Water cannot disrupt the cure because there is no ongoing chemical reaction. Clients can shower, wash their face, or swim immediately after the appointment without affecting retention.
Comparison with Traditional Lash Glue Aftercare
- Water contact: Traditional: 24-hour ban. UV: No restriction post-cure.
- Steam and humidity: Traditional: Avoid steam rooms, saunas, and heavy sweating for 24-48 hours. UV: Safe immediately after curing.
- Oil-based products: Traditional: Avoid eye makeup and cleansers near the lash line for 24 hours. UV: Same caution applies — oil degrades the bond over time, but no initial waiting period.
- Client compliance risk: Traditional: High — clients often forget and wash their face, causing early shedding. UV: Low — the risk window is removed entirely.
This is a meaningful advantage for salons. A significant portion of early retention issues with traditional glue come from clients breaking the water ban. Switching to UV eliminates that variable from your warranty claims. The bond quality still depends on correct application, but aftercare becomes simpler for both the artist and the client.
Troubleshooting: Why Your UV Lashes Are Falling Off
Most UV lash failures trace back to one of three sources: wavelength, dip depth, or cure timing.
When a UV lash bond fails within the first 48 hours, the instinct is to blame the glue. More often, the culprit is a correctable application error. UV adhesive chemistry behaves differently than cyanoacrylate — it requires specific light energy to polymerize fully. Skip one variable and the bond stays soft.
Wrong Lamp Wavelength
A 405nm lamp looks like it works — the surface tacks off — but it fails to cure the glue layer closest to the natural lash. That leaves a liquid pocket under a cured shell. The extension lifts within hours. The best UV lamp wavelength for lash glue sits at 365nm or 395nm. Those wavelengths penetrate deeper into the adhesive column and cure it through the full thickness.
Over-Dipping the Glue Drop
UV glue is thicker than traditional formulas. Artists who switch often dip the same volume they used with cyanoacrylate — which is roughly double what UV glue needs. A fat drop creates a wide bond footprint that traps uncured adhesive underneath. The UV light cannot reach the center of a thick glue mass. Stick to a drop half the size of your usual traditional glue drop. If you’re unsure, review any UV lash glue drop size guide from a manufacturer who formulates both types.
Incomplete Cure by Lash Thickness
Not all lashes cure at the same speed. A 0.07mm extension cures in under one second with a 365nm lamp placed 3-5cm away. A 0.15mm extension needs closer to two seconds because the thicker diameter shadows more of the adhesive column from direct light. Artists who use a single cure time for every lash size under-cure their heavier fans consistently.
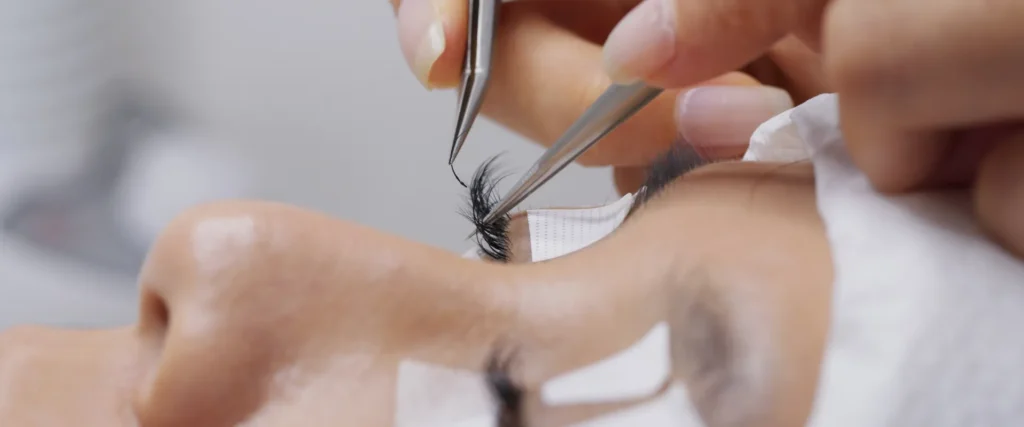
Lamp Position Relative to the Lash Line
Mini UV lamp placement for lash glue matters more than most tutorials mention. If the lamp sits directly above the eye, the upper lashes block light from reaching the glue on lower lashes. Position the lamp at a 45-degree angle below the lash line so the beam hits the bond site directly. Test this by curing an isolated single lash on a mannequin — then peel it. If the core is tacky, adjust your angle.
Bond Strength Check Before Release
After curing, gently nudge each extension with tweezers before moving to the next lash. If it shifts or lifts, re-cure for another full second rather than hoping it holds. A bond that passes this check at application will survive client aftercare routines that include makeup remover and face washing.
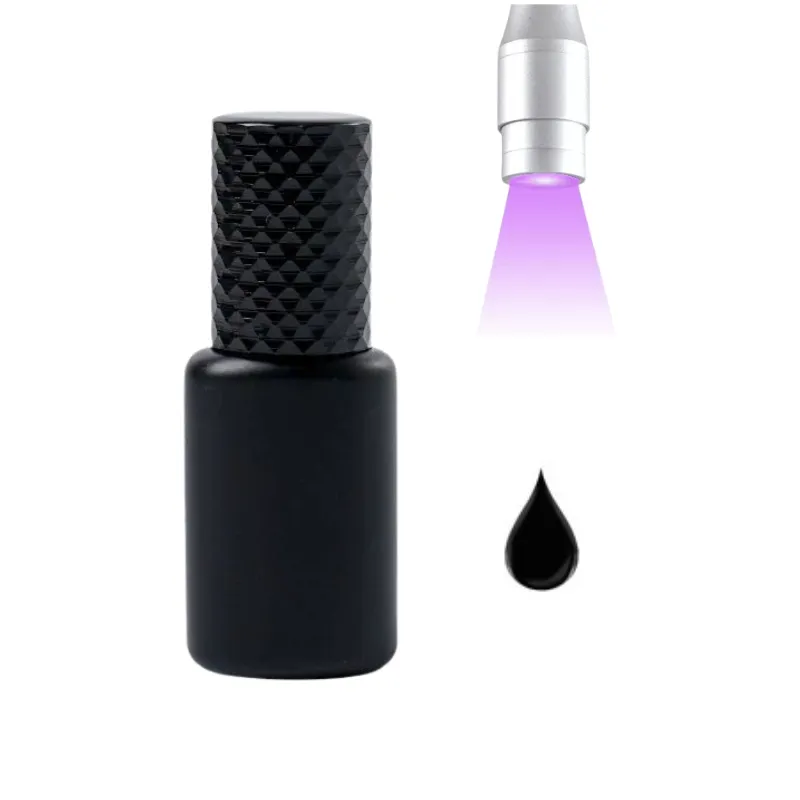
Quick Reference Card for New UV Users
Three fundamentals separate a smooth UV transition from a frustrating first week.
Drop Size: Cut It in Half
UV lash glue has a thicker body than traditional cyanoacrylate. Most artists over-dip on their first attempt. The working drop should be about half the volume of a standard glue drop. A smaller drop means less spread on the natural lash, cleaner bond placement, and faster full cure. If you see glue squeezing out around the extension base, you’re using too much.
Lamp Wavelength: 365nm or 395nm Only
The best UV lamp wavelength for lash glue sits at 365nm or 395nm. A 405nm lamp only cures the surface layer, leaving the adhesive underneath uncured. That creates a false bond — the extension holds for a few hours, then slides off. Before you start, check the lamp’s spec sheet. If it says 405nm, swap it out. Lash Glues Factory formulates its UV adhesive for 365nm and 395nm lamps specifically, with batch consistency verified during production. The difference between a 395nm and 405nm lamp is about 15% in penetration depth, and that margin decides whether your retention hits 3 weeks or 3 days.
Curing Time: 0.5 to 2 Seconds
Thinner natural lashes need 0.5 seconds of UV exposure. Thicker lashes or volume fans need up to 2 seconds. The UV curing steps are straightforward: place the lash, position the lamp 2–3 cm from the bond, and cure. Over-curing beyond 2 seconds won’t damage the bond, but it can make the glue brittle. Under-curing is the faster route to fallout. When in doubt, add 0.5 seconds rather than cutting time short.
No Humidity Dependence
UV lash glue does not cure in ambient light. That changes the working rhythm. You get unlimited adjustment time — no rushing before the glue skims over. And unlike traditional glue, UV adhesive does not require specific humidity levels to cure. That means consistent results in dry climates, humid summers, or air-conditioned rooms. The only variable is the lamp position and exposure duration.
Quick Troubleshooting: Why Lashes Fall Off
- Lashes falling off within 24 hours: Check lamp wavelength first. 405nm lamps are the most common cause of early bond failure in UV systems.
- Bond looks shiny or wet after curing: Increase cure time by 0.5 seconds. A wet-looking bond means the light hasn’t penetrated the full glue layer.
- Glue spreading onto natural lashes: Reduce your drop size. UV glue spreads more than traditional glue because it stays liquid until the lamp hits it.
- Brittle bonds that snap during styling: You are over-curing. Drop the exposure time by 0.5 seconds and test again.
Conclusion
UV lash glue application is fundamentally different from traditional cyanoacrylate glue. The key is using the correct lamp wavelength (365nm or 395nm) and a much smaller glue drop. Proper technique eliminates the 24-hour water ban and gives you control over placement.
- Use a 365nm or 395nm UV lamp for deep-layer cure.
- Apply a drop half the size of traditional glue.
- Place the lamp 2-3 inches from the lash for 0.5-2 seconds.
- No water ban after UV cure—clients can wash immediately.
For lash artists transitioning to UV systems, understanding these application details is the difference between 3-week retention and same-day fallout. Review the full product specifications and troubleshooting guides on the UV lash glue supplier page to ensure you choose the right adhesive for your technique.
Frequently Asked Questions
How to get a quote for How to Apply UV Lash Glue: Step-by-Step Guide for Artists?
The exact answer depends on the product specification, quantity, and order setup. The safest approach is to confirm the commercial terms only after the final requirement sheet is locked. Final terms should be confirmed against the exact product specification and order conditions.
Can I request samples first?
The exact answer depends on the product specification, quantity, and order setup. The safest approach is to confirm the commercial terms only after the final requirement sheet is locked. Sample availability should be confirmed against the current stock and shipping plan.