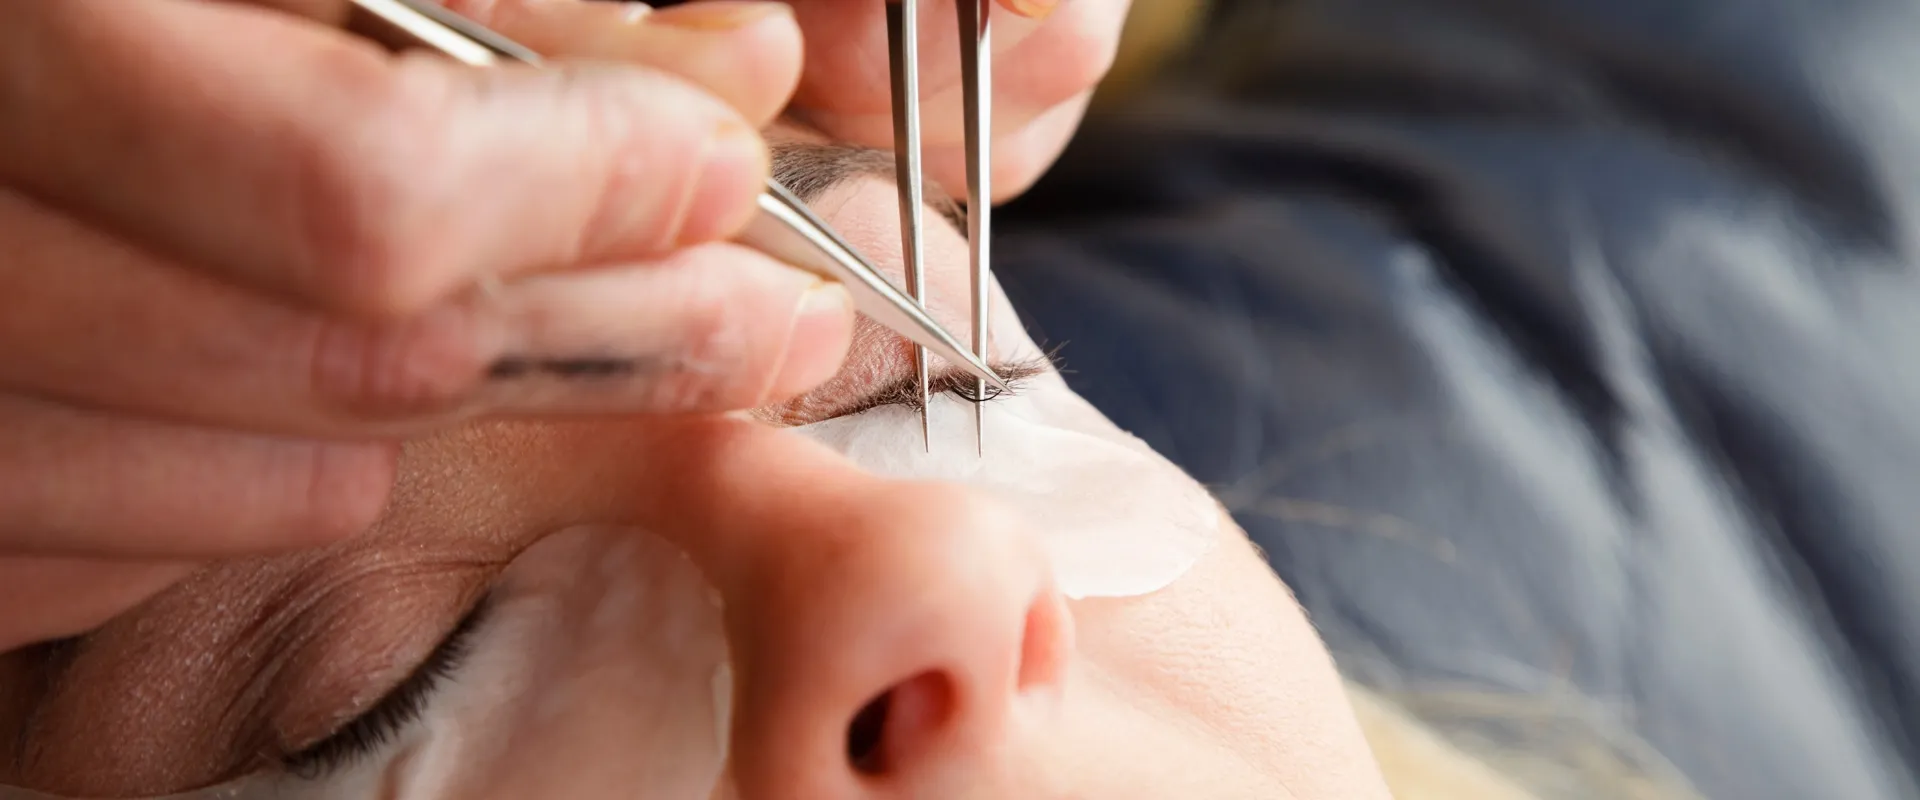


The most costly lash glue retention mistakes rarely start with the adhesive itself. They start with a gap between what the spec sheet promises and what actually happens in the chair.
A buyer once watched a $50K order unravel because the pre-production sample held for four weeks, but the mass production batch beaded on the lashes and retention dropped to three days. The formula hadn’t changed. The application had.
That gap is where most common lash glue application errors live. Many artists don’t realize that shaking the bottle should be gentle and last a full 30 seconds — vigorous shaking introduces air bubbles that weaken the bond. And the one-third dip rule (only one-third of the lash extension base) reduces glue bulk and can increase retention by 20%. Without these small fixes, even a premium adhesive will disappoint. The next five sections break down exactly what to check before your next set.
Mistake 1: Using Too Much Glue – The ‘Beading’ Effect
Excess glue creates a weak bond – the beading effect cuts retention by days.
A lash extension with a glue bead at the base looks like a solid bond. It’s not. That blob of adhesive is a failure point waiting to happen. The bead forms because the dip went too deep, pulling more glue than the extension can hold. Instead of spreading evenly, the adhesive pools and dries with a rounded surface that has minimal contact with the natural lash.
The result is predictable. The bead snaps off under light pressure, or the bond lifts after a day because the glue never cured uniformly. Clients come back on day three complaining their extensions are falling off. That’s not a glue problem. That’s a technique problem.
The One-Third Dip Rule
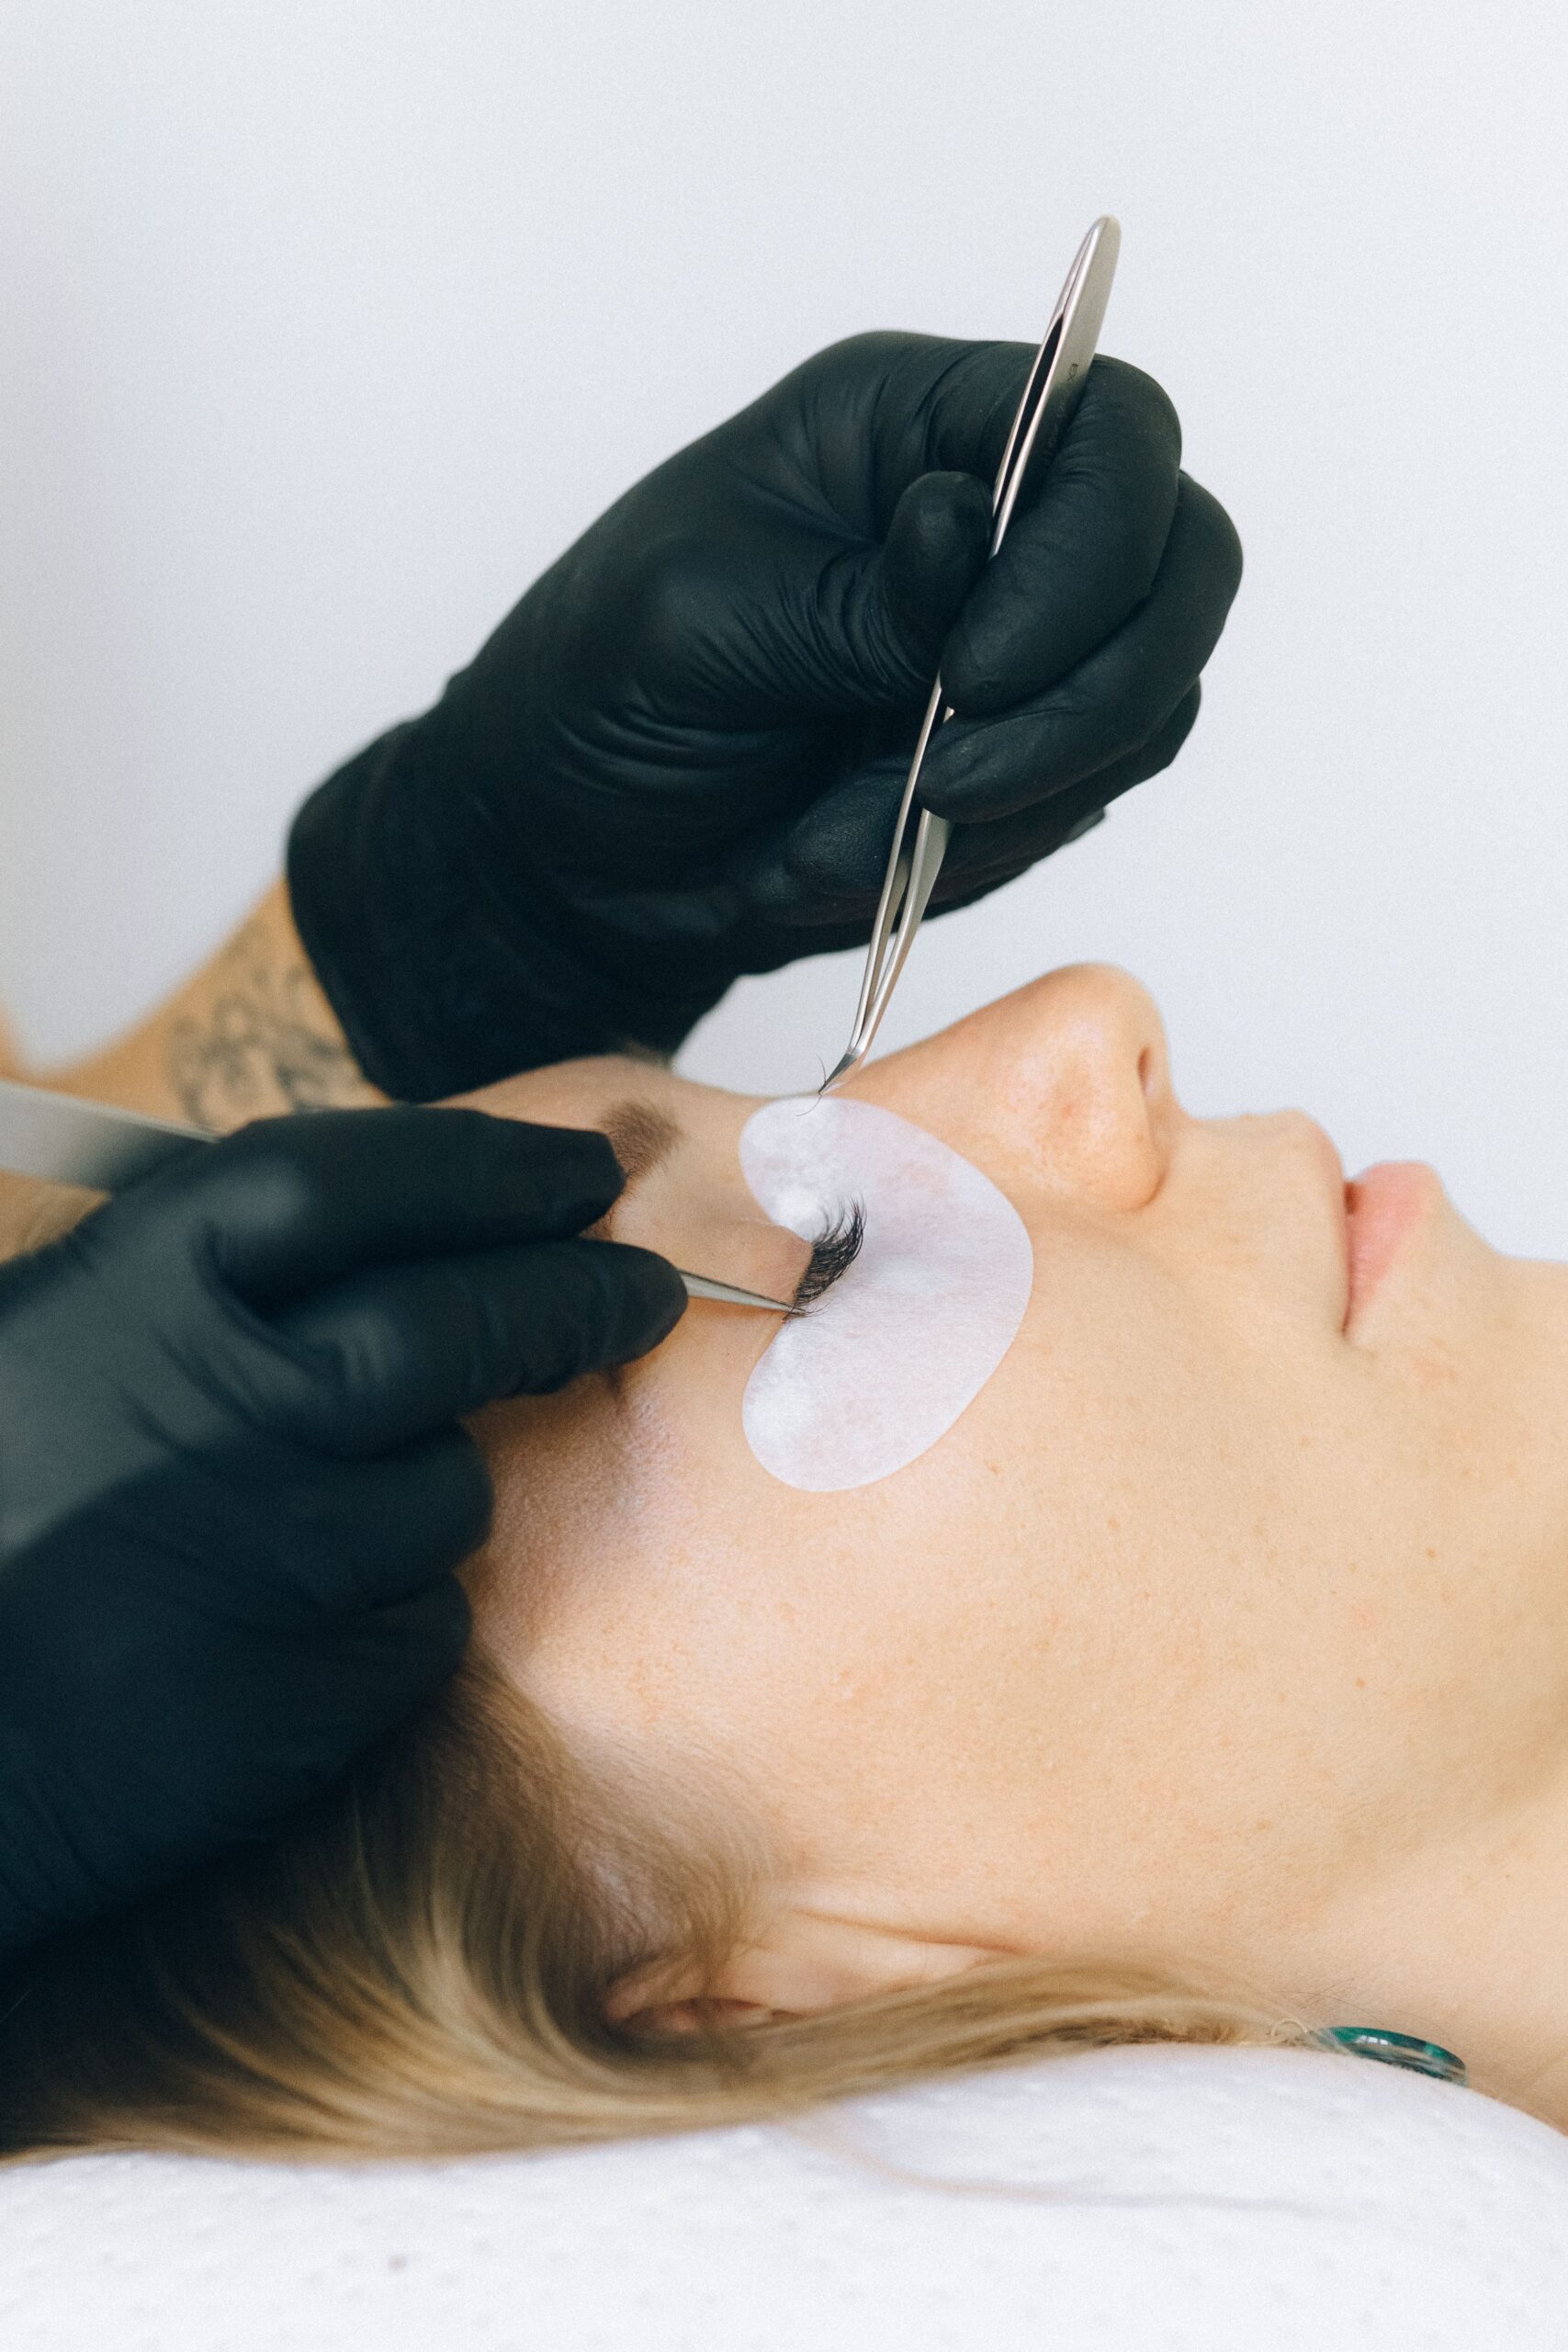
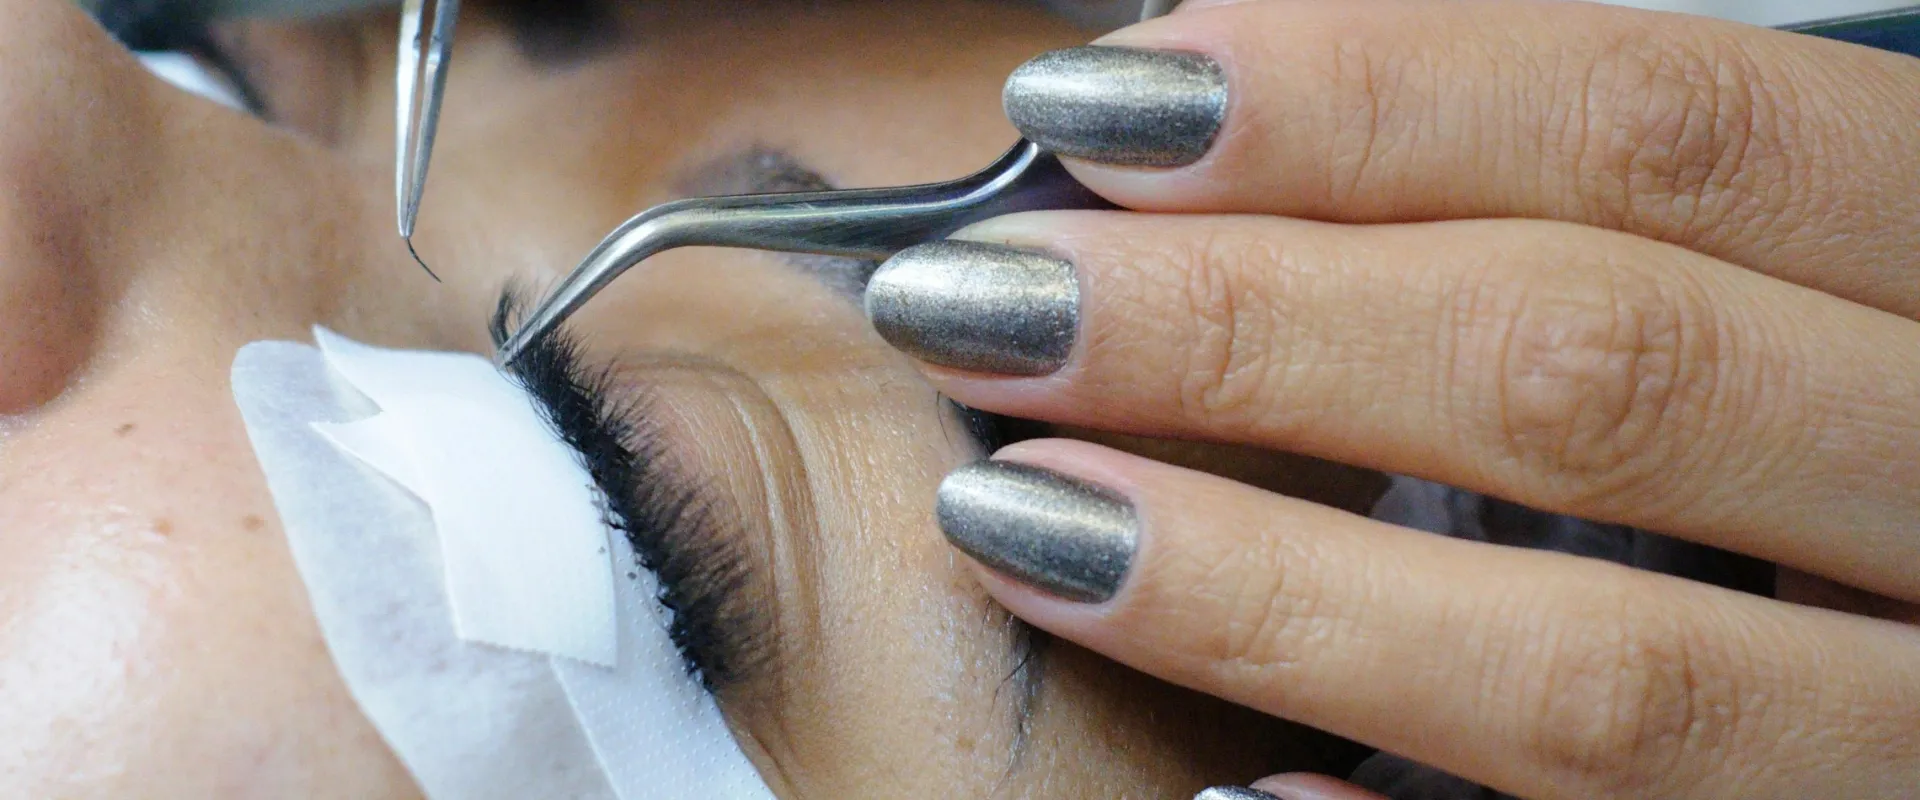
The fix is straightforward: dip only the bottom third of the extension base into the glue droplet. Not halfway. Not two-thirds. The bottom third. This leaves enough adhesive to create a thin, even layer along the glue contact area without excess pooling at the tip.
- Dip depth: Insert only the bottom third of the extension base. Mark your glue tray with a visual guide if needed.
- Globe size: A single glue droplet should be about the size of a grain of rice. Larger droplets encourage over-dipping.
- Speed: Pull the extension out at a 45-degree angle and slide it slightly along the natural lash. This spreads the glue into a thin film.
Mistake 2: Not Shaking the Bottle Before Use
A 30-second gentle shake prevents 90% of early retention failures.
Carbon black particles and thickening agents in lash adhesive settle during storage. Leave a bottle sitting for more than 24 hours, and you get a dense layer at the bottom with thinner liquid on top. Dip into that unmixed bottle, and the glue consistency shifts halfway through your appointment — first too runny, then too thick.
Why Vigorous Shaking Backfires
Most artists grab the bottle and shake it like a cocktail mixer. That forces air into the formula. Micro-bubbles form inside the adhesive, then get trapped under the lash extension during application. The result: tiny voids in the bond line that reduce contact area by up to 40%. Retention drops from three weeks to under ten days.
The Correct Mixing Routine

Mistake 3: Ignoring Humidity and Temperature in the Workspace
The glue’s curing speed depends on the air it sits in.
Most lash artists treat the workspace environment as a background variable. It’s not. Humidity and temperature directly control how fast the adhesive polymerizes. Too humid, and the glue cures too fast — you lose placement time and the bond sets before the extension is fully seated. Too dry, and the cure slows down, the bond weakens, and your client is back in the chair within a week asking why do my lash extensions fall off after 3 days.
The chemistry is simple. Cyanoacrylate adhesives need moisture to cure. The ideal humidity range for most lash glues is 40% to 60% relative humidity. Temperature should sit between 68°F and 75°F (20°C to 24°C). Outside that window, the cure rate shifts unpredictably. At 70% humidity, the glue may skin over in 1 second, trapping uncured adhesive underneath. At 35%, it may take 5 seconds to dry, giving dust and oil time to contaminate the bond.
How to Measure — and Control — Your Workspace
Aesthetics are not enough. You need a digital thermo-hygrometer on your work table. Not the one on the wall across the room — the microclimate at the lash line can differ by 5% to 10% humidity from the rest of the salon. Position the sensor within 2 feet of the client’s face. Check it before every set. If it reads 65% or higher, run a dehumidifier for 15 minutes before starting. If it reads below 35%, use a small humidifier or a damp towel on a nearby surface.
Some adhesives are formulated for specific conditions. Factory formulations like fast-drying glue are designed for standard humidity, not extreme environments. If you work in a coastal city with 80% average humidity, you need a slower-curing adhesive. If you work in a dry climate with indoor heating in winter, you need a faster one. Know your glue’s spec sheet — the manufacturer should list the recommended humidity and temperature range for that batch.
A hygrometer costs $15 to $25. A dehumidifier runs $150 to $300. A single retention failure costs you a client and a free fill. The math is simple. Measure before you bond.
Mistake 4: Using Expired or Improperly Stored Glue
A glue bottle opened 6 months ago loses 40% of its bonding strength.
Most lash artists don’t check the batch date before opening a new bottle. They assume if it’s sealed, it’s good. That assumption costs them retention on every set. Cyanoacrylate-based adhesives start degrading the moment they’re exposed to air — even factory-sealed bottles have a finite shelf life. After 12 months from manufacture, the chemical chain begins to break down, and the cure time drifts unpredictably.
How to Read Batch Dates Like a Pro
Every legitimate manufacturer prints a batch code or expiration date on the box and bottle. Look for a format like ‘MFG 2026/08/15’ or ‘EXP 2026/08/14’. If you see only a cryptic alphanumeric string, call the supplier and ask for the decode key — some factories use Julian dates or internal lot codes. A reputable lash glue factory will always provide clear dating and can trace any batch back to its production log.
Here is the hard rule: discard any glue that has passed its expiration date by more than 30 days. Do not test it, do not use it on a loyal client. The viscosity will be off, the bond will fail faster, and you’ll waste an hour reapplying for free.
Storage Conditions That Kill Glue Faster Than Age
Heat is the number one enemy of lash adhesive. A bottle left in a car trunk for two hours on a summer day can reach internal temperatures above 45°C (113°F). At that point, partial polymerization begins inside the bottle. The glue thickens, clogs nozzles, and bonds inconsistently.

Mistake 5: Moving Too Fast – Insufficient Drying Time
Moving too fast after drying is the #1 reason lash extensions fail within 3 days.
Dry vs. Cure: Two Different Stages
Drying time (or tack-off) is the moment the glue surface becomes sticky enough to hold the extension in place — usually 2 to 5 seconds after application, depending on the formula and room humidity. Cure time, on the other hand, is the full chemical cross-linking process that takes 24 to 48 hours. Many artists treat the two as the same, but they aren’t. A dry surface doesn’t mean the bond is strong.
The Real Timeline
- Drying time (tack-off): 2–5 seconds. The glue surface is dry enough to hold the lash, but the inner adhesive is still liquid. If you place another lash too quickly, you can shift the previous one or break the seal.
- Full cure: 24–48 hours. The adhesive reaches its maximum tensile strength. During this period, the bond is vulnerable to water, steam, oil, and mechanical stress. This is why you tell clients to avoid washing their lashes or using steam facials for the first 48 hours.
The consequence of rushing through the drying stage is simple: your extensions don’t last. Clients come back wondering why do my lash extensions fall off after 3 days. The fix is to wait the extra second, let the glue set, and educate each client on the cure window. This single adjustment — understanding the lash adhesive cure time vs dry time — can lift retention rates noticeably.
Bonus: Quick Checklist for Every Lash Appointment
A quick pre-appointment checklist prevents 90% of retention complaints.
You’ve learned the five mistakes. Now here’s a quick drill to run before every client — it catches the errors that creep in when you’re moving fast. This checklist takes under two minutes and directly addresses the most common lash glue application errors that lead to early fallout.
Pre-Appointment Glue Check
- Batch date verification: Check the adhesive batch date printed on the bottle. Use only glue within 3 months of manufacture. Lash Glues Factory includes the batch date on every label, so you can track freshness without guesswork.
- Gently shake the bottle: Shake gently for 30 seconds — not vigorously. Hard shaking introduces air bubbles that weaken the bond. This is the proper lash glue shaking technique most artists skip.
- One-third dip rule: Dip only the bottom third of the extension base into the glue drop. This reduces bulk and increases retention by 20%. It’s the core fix for the beading effect.
- Workspace environment: Use a digital hygrometer and thermometer to confirm humidity and temperature for lash extensions. Ideal range: 40–60% humidity, 20–25°C. Adjust with a humidifier or dehumidifier if needed.
- Storage condition: Store the glue bottle upright in a cool, dark place away from sunlight and heat sources. Follow the storage guidelines printed on the Lash Glues Factory bottle to extend shelf life.
- Lash priming: Apply a lash primer to remove oil and residue. Wait at least 10 seconds for the primer to evaporate completely before applying glue.
- Cure time awareness: Understand the difference between drying time and cure time: the glue sets in seconds but reaches full strength after 24–48 hours. Avoid water, steam, and heavy rubbing during that window.
Client Prep & Application Timing
Conclusion
Poor retention rarely comes from a single bad day. It’s the cumulative effect of small missteps — the over‑dip, the unshaken bottle, the missed humidity check. Fixing these five mistakes turns a fragile two‑week hold into a reliable four‑week result. The one‑third dip rule alone can boost retention by 20% without changing a single drop of glue.
- Dip only one‑third of the extension base to eliminate beading.
- Shake gently for 30 seconds — never vigorously — to avoid air bubbles.
- Keep workspace humidity at 40‑60% and temperature at 20‑25°C.
- Check the batch date and store glue upright in a cool, dark place.
Frequently Asked Questions
How to get a quote for 5 Lash Glue Mistakes That Ruin Retention and How to Fix Them?
The exact answer depends on the product specification, quantity, and order setup. The safest approach is to confirm the commercial terms only after the final requirement sheet is locked. Final terms should be confirmed against the exact product specification and order conditions.
Can I request samples first?
The exact answer depends on the product specification, quantity, and order setup. The safest approach is to confirm the commercial terms only after the final requirement sheet is locked. Sample availability should be confirmed against the current stock and shipping plan.